
Repairing Chipped or Cracked Laminate Flooring: Mechanical Replacement vs. Cosmetic Fixes
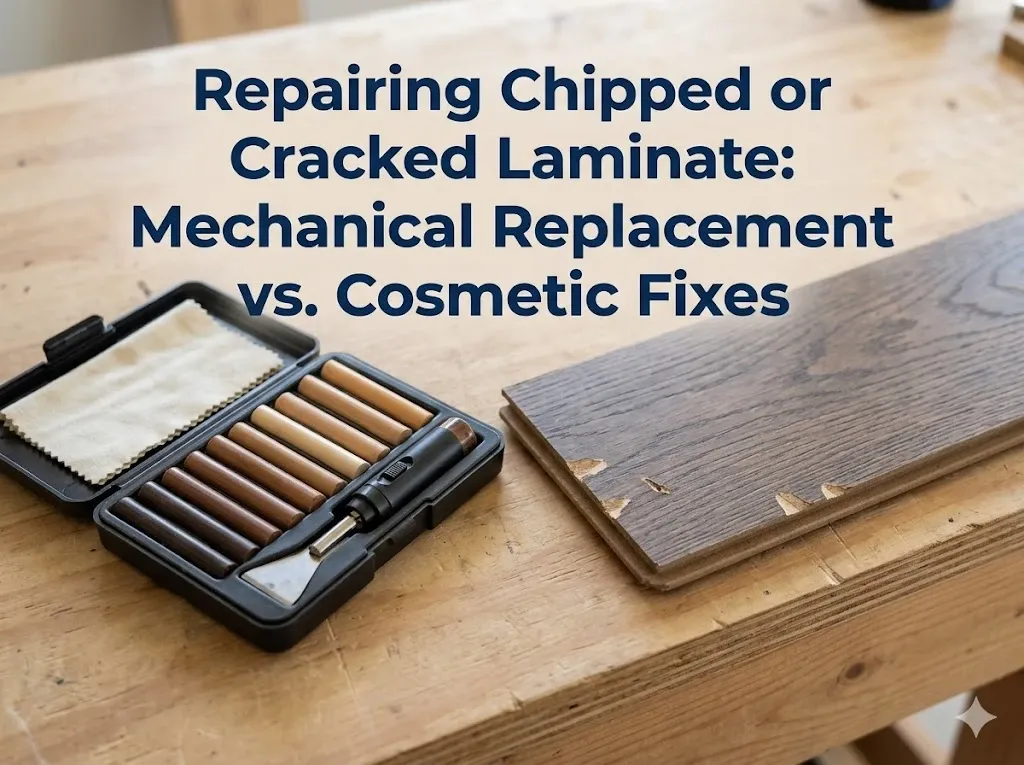
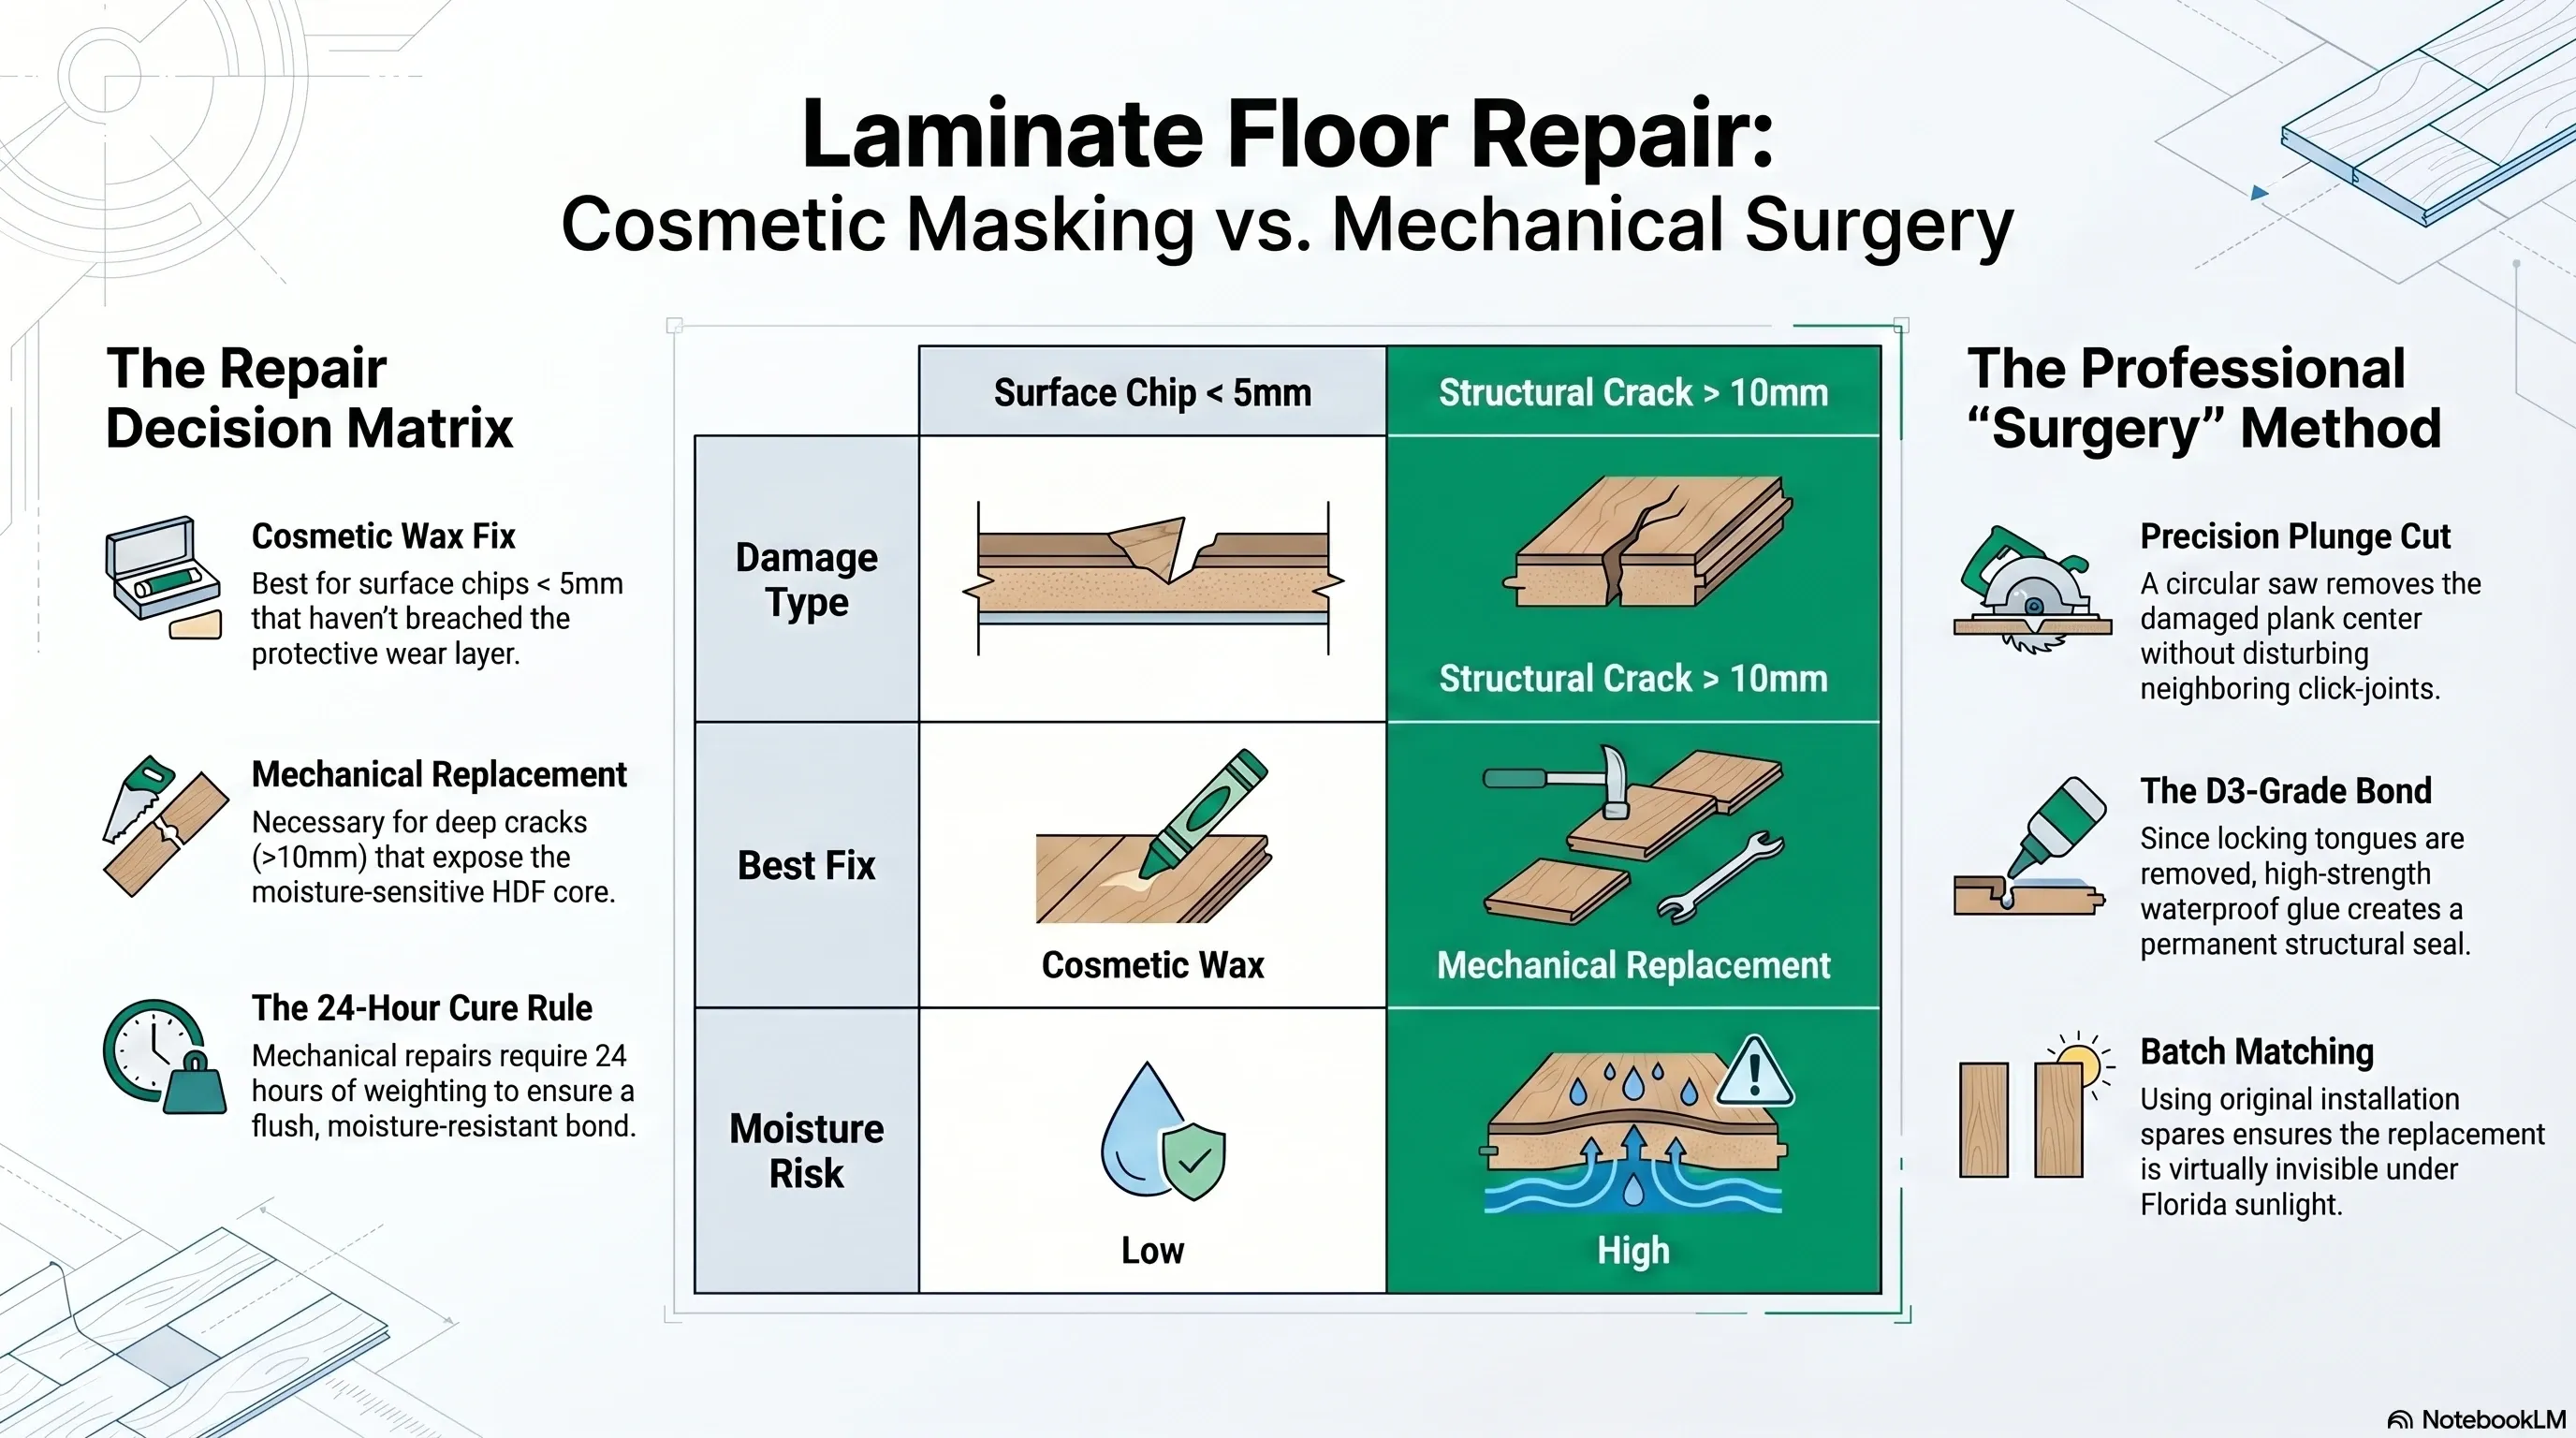
The repair method depends on whether damage is cosmetic (surface chip < 5 mm, wear layer intact) or structural (crack exposing the HDF core to moisture). Cosmetic repairs use color-matched wax or resin. Structural damage requires mechanical plank replacement via plunge-cut protocol and D3-grade waterproof adhesive bonding.
Cosmetic Repairs — When a “Mask” Is Enough
For small chips caused by dropped kitchen tools or pet claws, cosmetic repair is the most efficient solution. Technical repair kits contain hard-melt waxes or acrylic resins that are color-matched to the specific floor grain. These materials are melted into the chip, leveled with a specialized spatula, and buffed smooth. While this does not restore the structural integrity of the wear layer, it effectively seals the HDF core against surface spills and makes the damage nearly invisible.
The Danger of Deep Cracks in Florida
A crack is more dangerous than a chip. In Tampa Bay’s high-humidity environment, a crack that penetrates the protective overlay acts as a gateway for water vapor. During heavy AC cycling, moisture can be drawn into the crack, causing wood fibers to swell and the surrounding decorative layer to peel.
Cosmetic waxes rarely succeed at stopping this vapor migration. If a crack spans more than 2 cm or is located near a joint, mechanical replacement is the only way to safeguard the rest of the floor.
Mechanical Replacement — The “Surgery” Method
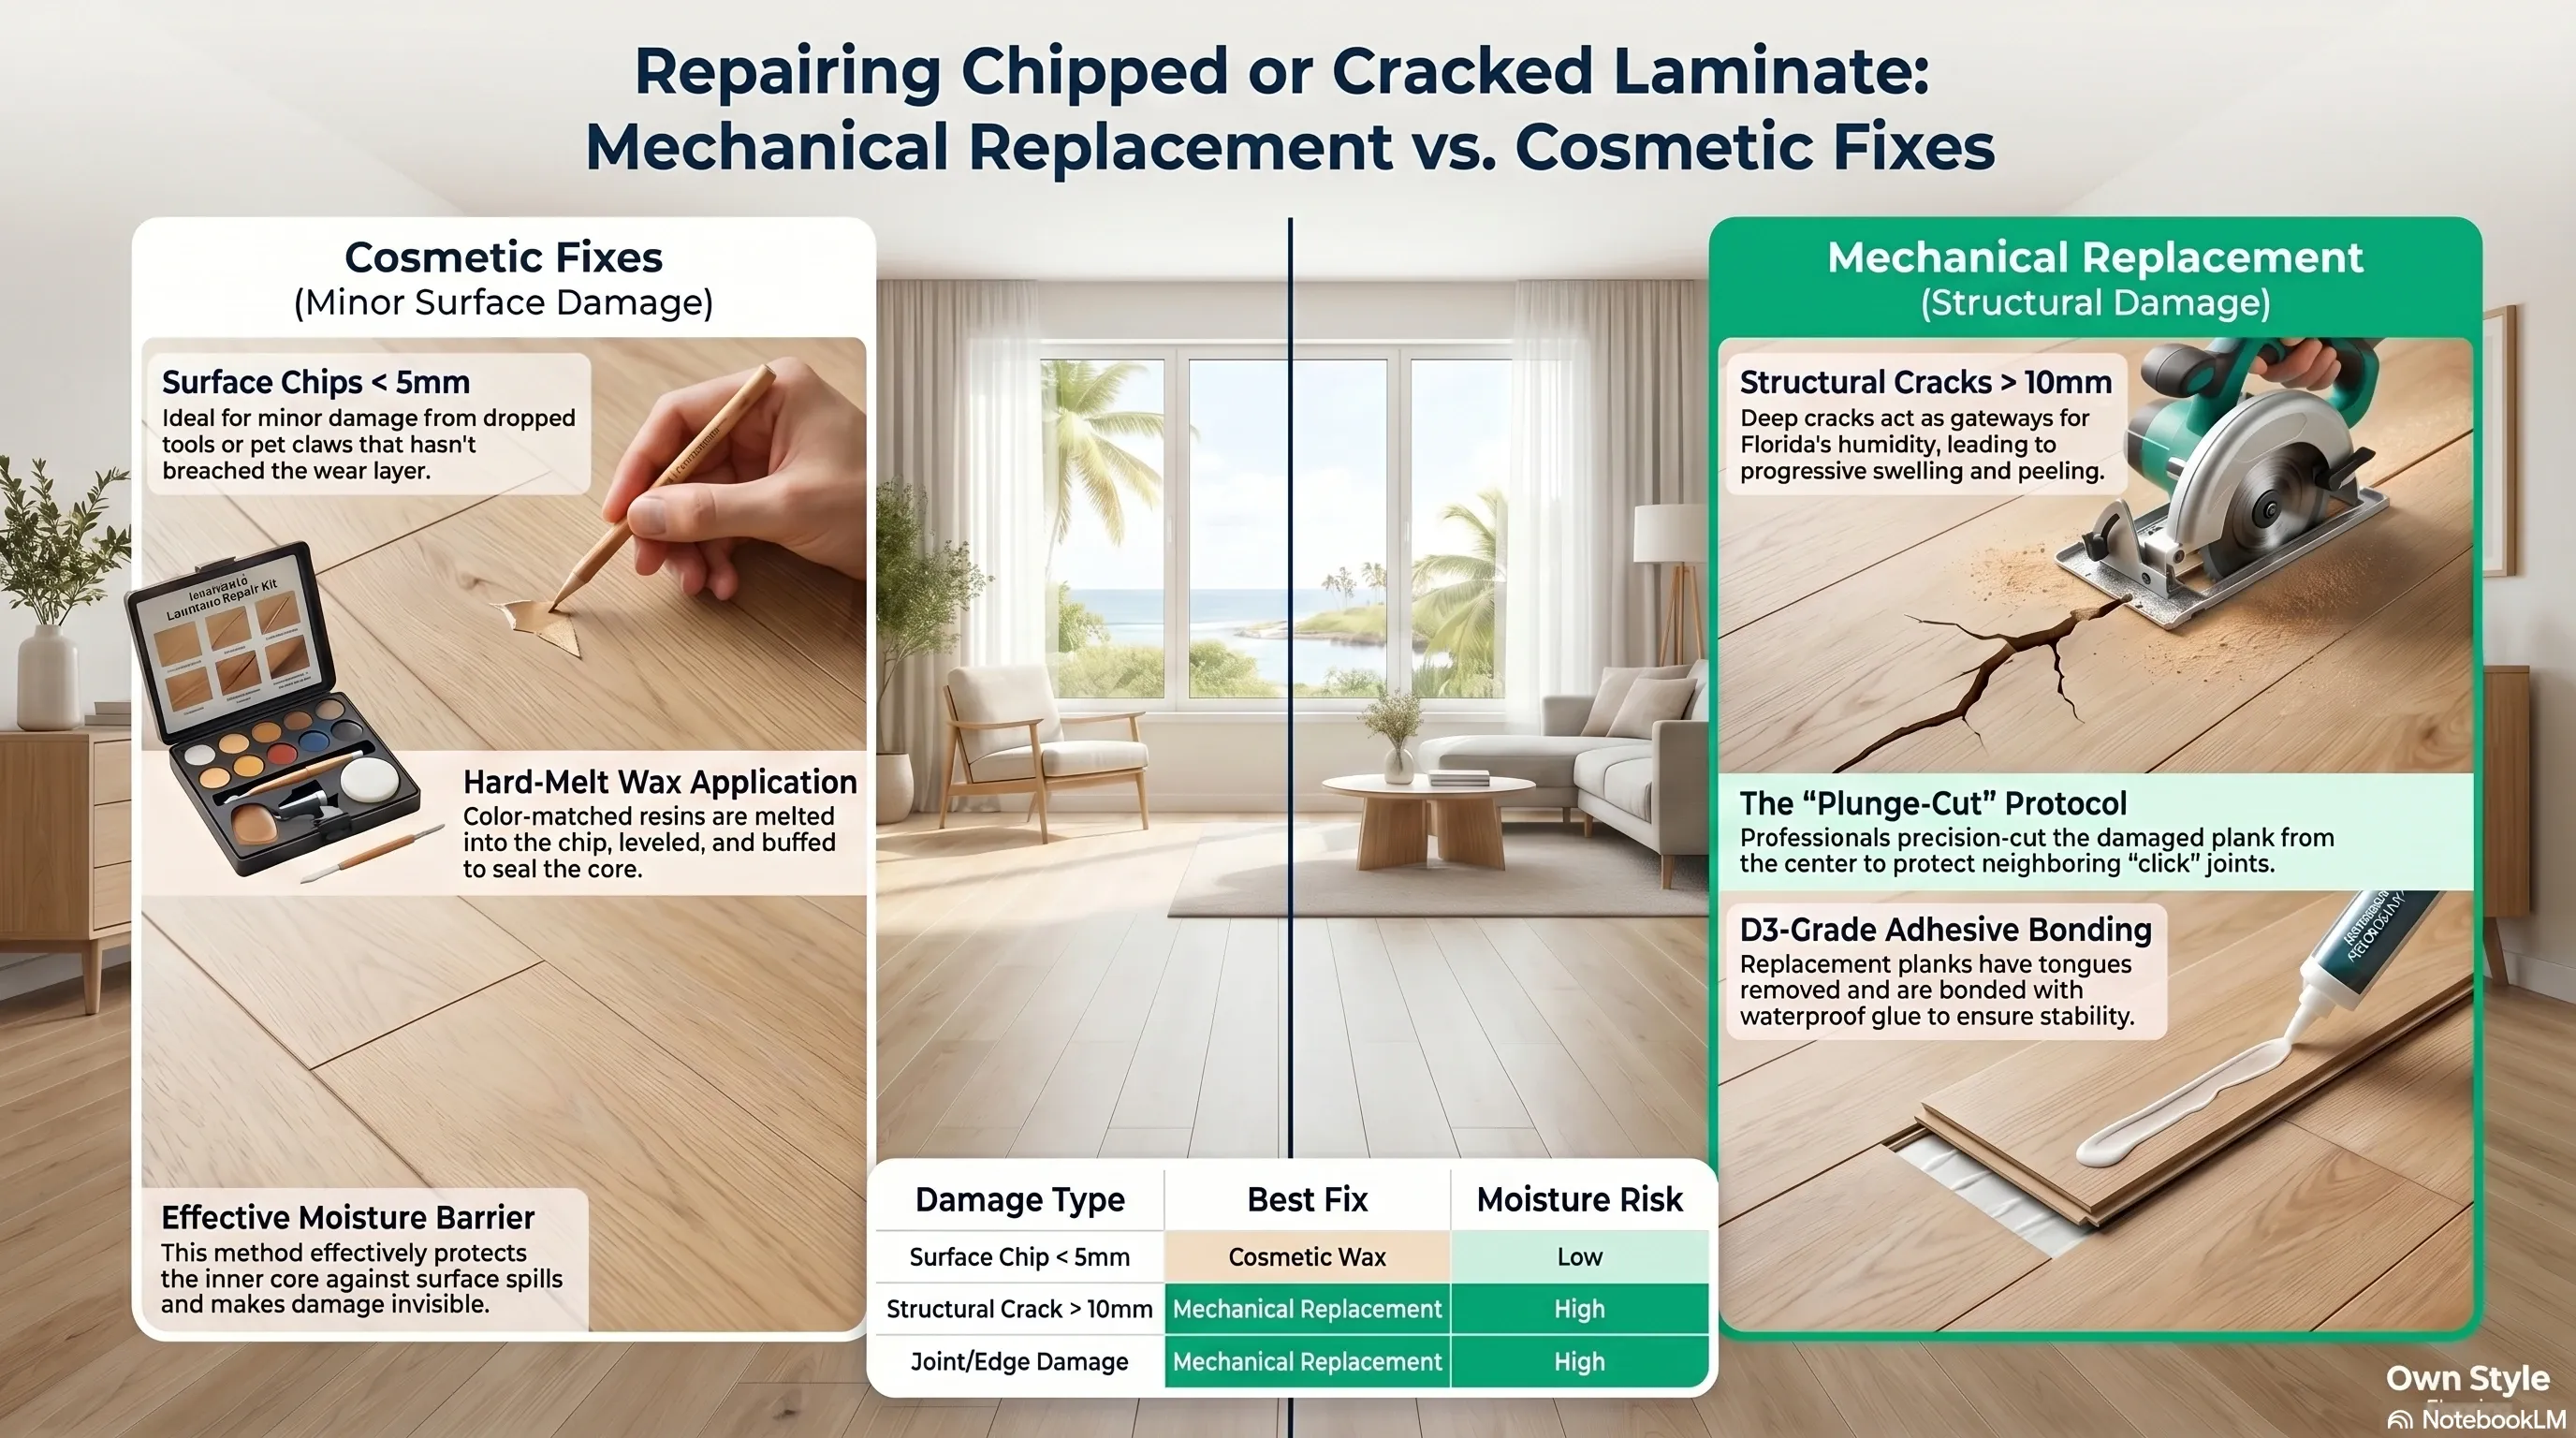
Replacing a damaged plank in the middle of a room without dismantling the entire floor is a high-precision maneuver that converts one floating board into a permanently bonded one. The protocol runs in four fixed steps, each dependent on the one before it:
- Planimetric marking — A rectangle is marked inside the damaged plank, staying 2 cm from edges to protect surrounding healthy click joints.
- Internal cutting — A circular saw set to the exact laminate depth removes the center of the damaged board.
- Joint preparation — Remaining strips of the old plank are removed; the tongue is trimmed from the new replacement board.
- Adhesive bonding — The new board is lowered into place and bonded using D3-grade, moisture-resistant wood glue along the grooves.
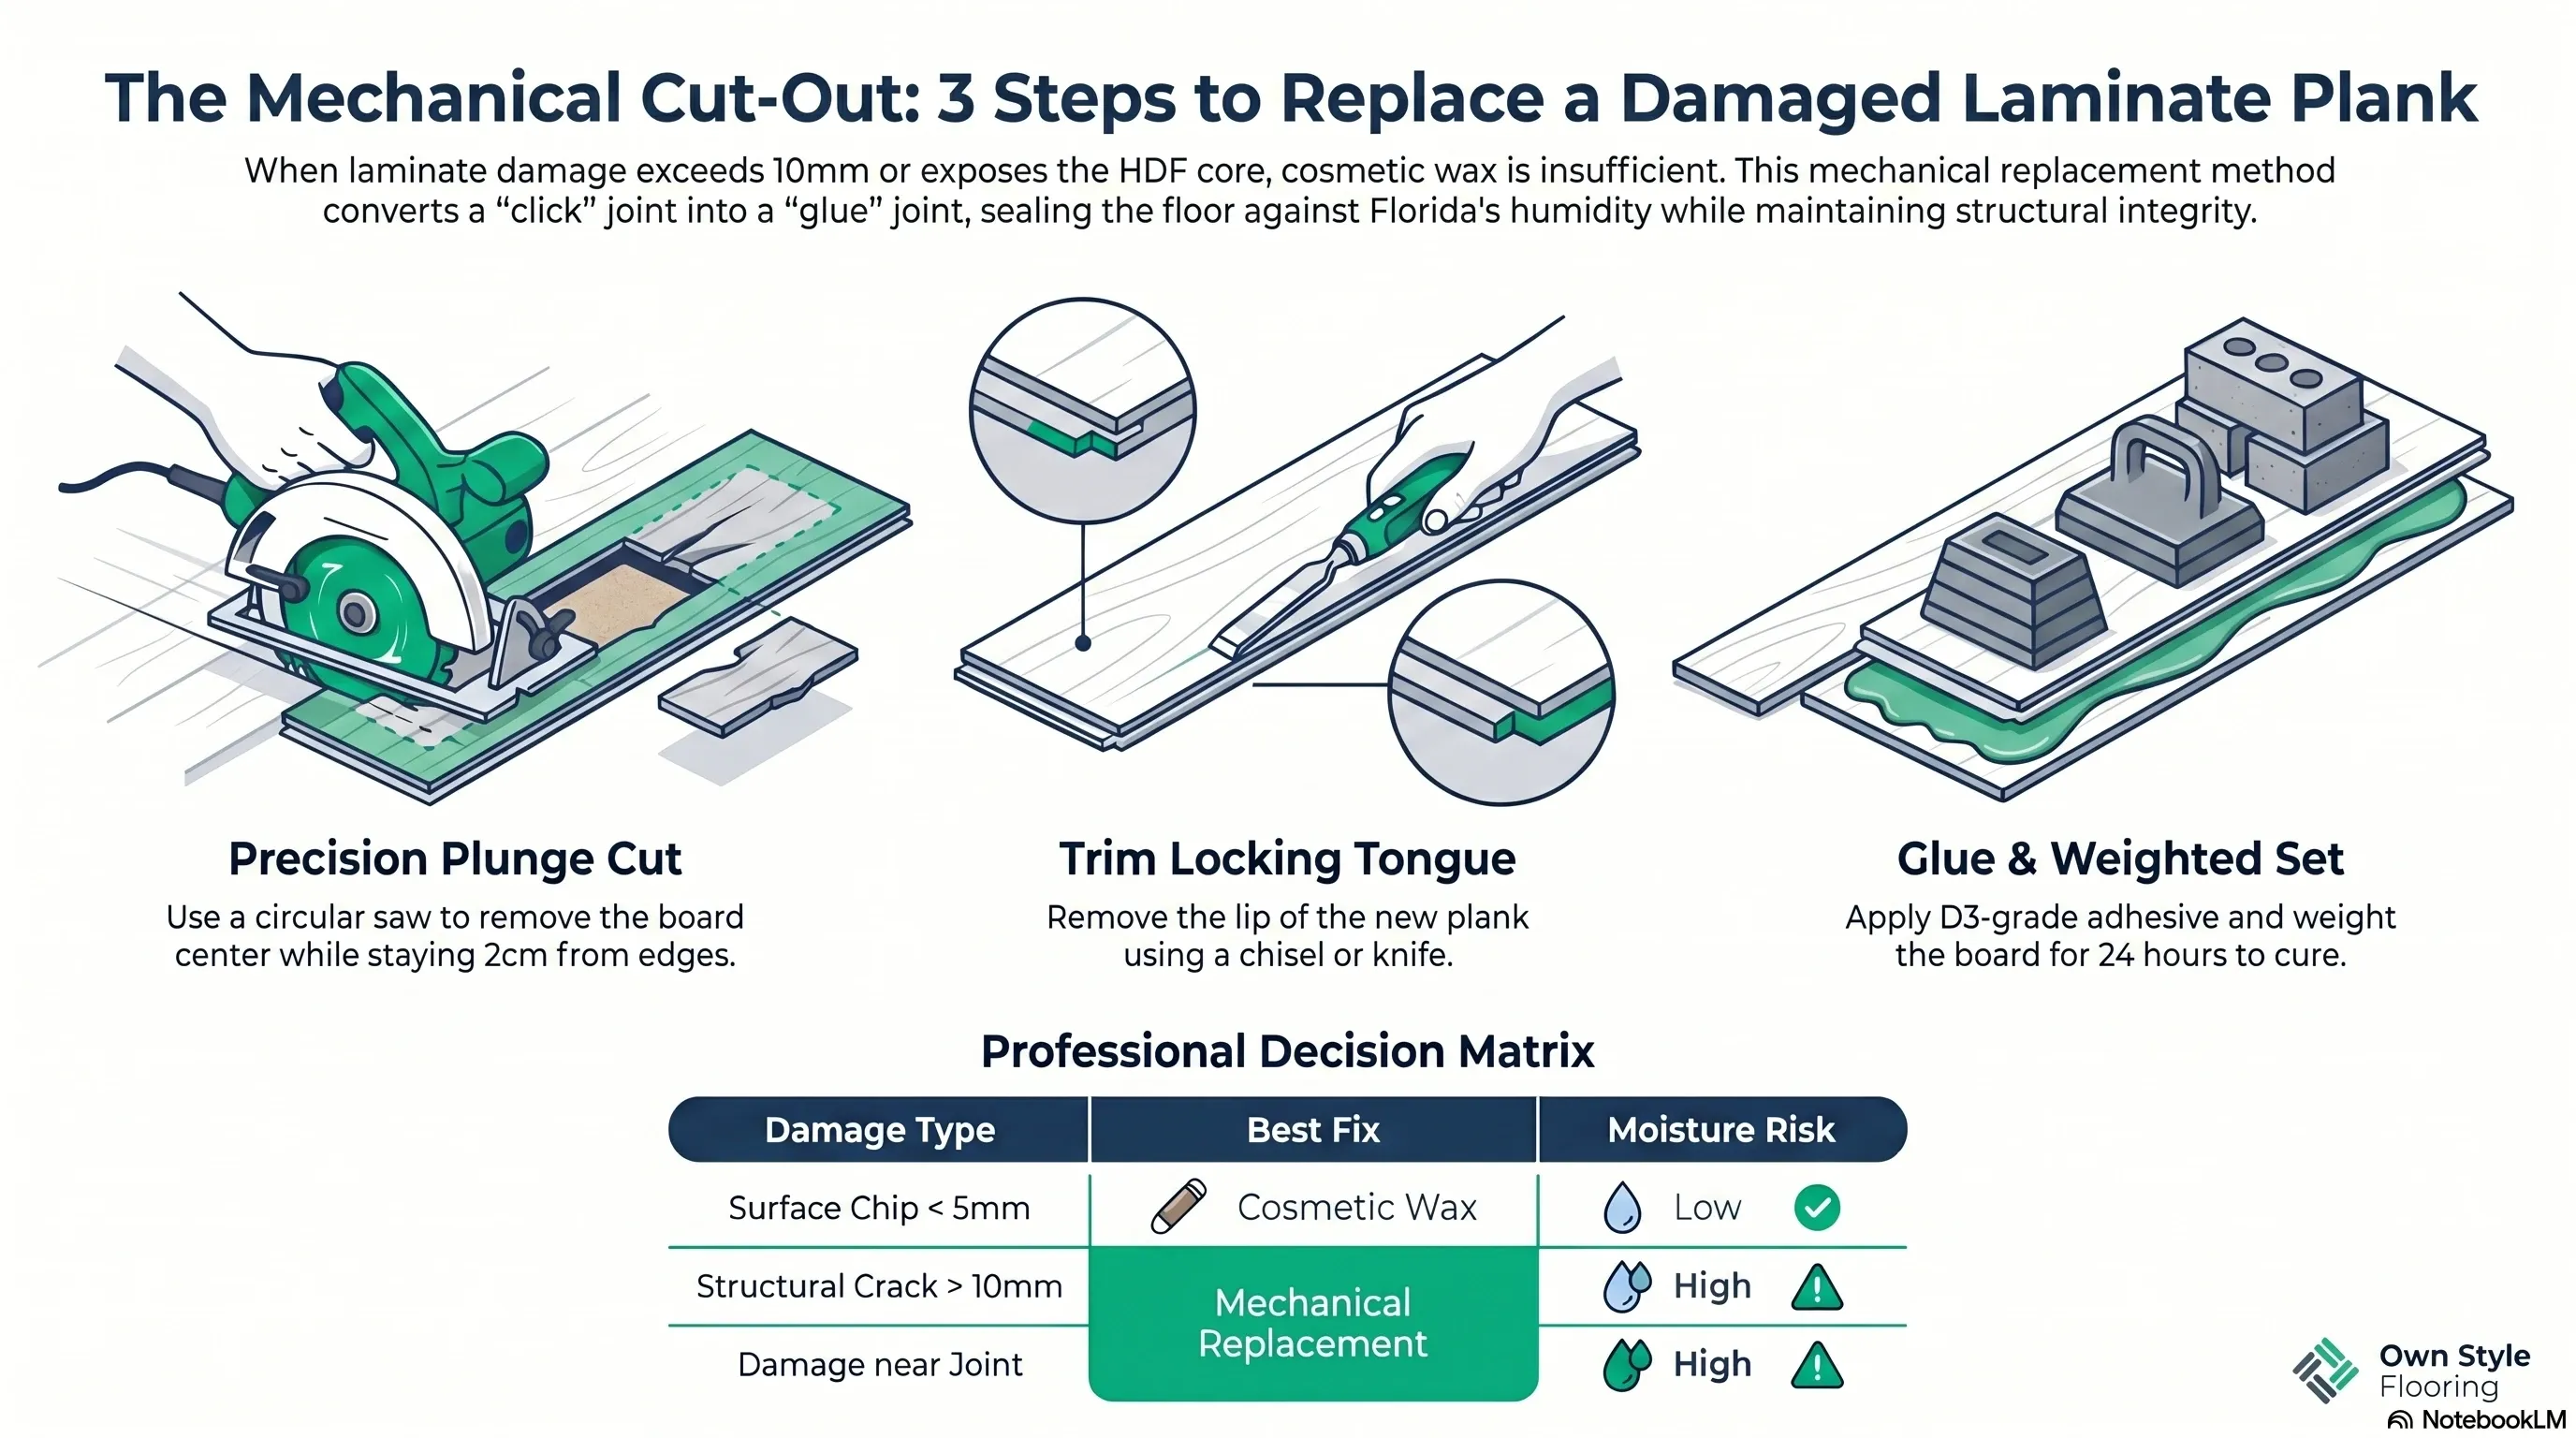
| Damage type | Signs | Correct fix |
|---|---|---|
| Surface chip < 5 mm | Cosmetic only, wear layer intact | Color-matched wax or resin |
| Crack > 2 cm or near a joint | Penetrates overlay, moisture pathway | Mechanical plank replacement |
| Damage near appliances or wet areas | High recurring moisture exposure | Mechanical replacement, regardless of size |
| Multiple chips across one plank | Wear layer compromised broadly | Full plank replacement |
Why DIY “Hammering” Destroys Repairs
A common mistake is attempting to force a new plank into an existing floor without trimming the locking mechanism. Because the floor is already locked in place, there is no room to angle a new board in at 20 degrees. Forcing it with a hammer shatters the fragile HDF tongues of neighboring boards, turning a one-plank repair into a ten-plank disaster. Professional mechanical replacement converts the click joint into a glue joint for that specific piece.
The Role of Spare Planks and Batch Matching
Homeowners should always keep at least one full box of spare planks from the original installation. Manufacturing batches can vary slightly in color and texture. A replacement plank purchased years after the initial install may stand out noticeably. Using a board from the original batch makes professional mechanical replacements virtually indistinguishable from the surrounding floor.
What Happens If No Spare Planks Are Available?
The closest match is pulled from a low-visibility area of the same floor and relocated to the visible repair site, with a new plank from current production going into the hidden spot instead. This trades a slightly-off color match in a location nobody sees for an exact match where it matters.
Good donor locations for this swap include:
- Inside a closet floor, rarely seen even with the door open
- Under a permanently placed appliance like a refrigerator or washer
- Beneath furniture that has not moved since the original installation
- A corner behind a door’s swing radius
Buying a “close enough” replacement plank from current retail stock without attempting this swap is the option that most often produces a visibly mismatched repair, since manufacturers change dye lots and even discontinue specific colorways over a few years.
Can Laminate Repair Kits From a Hardware Store Handle Structural Cracks?
No — retail repair kits are formulated for cosmetic surface damage only, and using one on a crack that has already penetrated to the HDF core treats the visible symptom while leaving the actual moisture pathway open. The wax or resin fills the crack’s visible width but does not bond the surrounding plank structurally.
The missing structural bond means the wear layer no longer functions as a moisture barrier, so vapor keeps reaching the core through the same path from below or the sides. A crack of this type continues to worsen under normal AC-cycling humidity regardless of how well the cosmetic fill was applied on top.
Post-Repair Care and Curing
After a mechanical replacement, the area must be weighted for at least 24 hours to ensure a flat, flush bond while the D3 adhesive cures. Walking on the board too early in Florida’s humid climate can cause the glue to shift, resulting in permanent “lippage” where the new board sits higher than surrounding planks — creating a trip hazard.
How Long Does a Repaired Floor Section Actually Last?
A well-executed cosmetic wax repair holds up for years under normal foot traffic, though it is a surface seal rather than a structural fix. It should be re-inspected whenever the surrounding area is deep-cleaned, since wear on the wax fill happens faster than on the surrounding factory finish.
A mechanical plank replacement, done correctly with D3 adhesive and full cure time, performs identically to the original installation for the rest of the floor’s life. The repaired plank is now bonded rather than floating — the one functional difference from its neighbors, and one that has no practical effect on how the floor performs.
Does a Repaired Section Affect the Rest of the Floor’s Warranty?
Not if it is documented as a spot repair rather than left unmentioned. Manufacturers evaluate warranty claims plank by plank in most cases, so a single mechanically replaced board glued in place does not typically void coverage on the surrounding floating floor.
An undocumented repair that an inspector discovers during an unrelated investigation is what complicates a future claim. Keeping a note of the date, location, and method of any repair avoids that confusion if a different section of the floor develops an issue years later.
Professional Reliability
Respecting the physics of the floating system during every repair — trimming the tongue before forcing a new board into place, weighting the bond for the full cure time, matching the plank to the original batch — is what separates a repair that disappears into the floor from one that becomes a second problem.
Whether the job is a cosmetic wax application for a minor nick or a full mechanical plank replacement in a Tampa Bay or Hillsborough County home, the goal is the same: a floor that is structurally sealed, color-matched, and protected from Florida’s moisture challenges.
Planning a flooring project in Tampa Bay? Every quote starts with a moisture reading of the slab, at no cost. Get your free photo estimate or call (813) 455-5756.
Frequently asked questions
Can a deep scratch be fixed with wood filler?
Wood filler is generally too brittle for laminate flooring. Floating floors move and flex constantly with humidity and foot traffic, so a rigid filler eventually cracks and pops out of the scratch. Specialized laminate wax or resin that remains slightly flexible after curing is the correct material for this repair.
How is a plank replaced in the middle of a room?
A plunge-cut method removes the damaged board from the center outward. The new board has its locking tongue trimmed so it can be lowered flat into the existing opening and bonded with D3-grade waterproof adhesive.
Is it better to repair or replace a chipped plank?
If the chip is purely aesthetic and smaller than a dime, cosmetic repair is best. If the chip is on a joint or near a high-moisture area like a refrigerator, mechanical replacement is the safer long-term choice.
Will a repair be visible under direct sunlight?
Cosmetic wax repairs may be slightly visible at certain angles under bright Florida sun, since the wax fill reflects light differently than the factory finish. A professional mechanical replacement using a plank from the original batch bonds and blends flush with the surrounding floor, making it virtually invisible even in direct light.
What happens if no spare planks are available for a repair?
The closest match is pulled from a low-visibility area of the same floor, like inside a closet, and relocated to the repair site — a new plank goes into the hidden spot instead. This gives an exact match where it's visible instead of a slightly-off color match bought from current retail stock.
Can a hardware store repair kit fix a structural crack?
No. Retail kits are formulated for cosmetic surface damage only. Using one on a crack that reaches the HDF core fills the visible gap but leaves the moisture pathway open, so the crack continues worsening under normal humidity regardless of the cosmetic fill on top.


US standard for measuring relative humidity inside a concrete slab using in-situ probes drilled to 40% of slab depth, read after 72 hours of equilibration.
US standard for measuring moisture vapor emission from a concrete slab using anhydrous calcium chloride, expressed in pounds per 1,000 sq ft per 24 hours.
US standard practice for preparing concrete floors to receive resilient flooring. Covers flatness, cleanliness, and moisture condition before installation.
The building code in force across Florida, including moisture and structural requirements that apply to slab-on-grade residential construction.
European deep-core moisture test that reacts a slab sample with calcium carbide and reads the resulting gas pressure. Supporting knowledge: the applicable US standards are ASTM F2170 and F1869.
Supporting knowledge — not the standard we work toGerman standard series for floor screeds, source of the widely cited 2.0% CM cement and 0.5% CM anhydrite thresholds. Supporting knowledge, not the applicable US standard.
Supporting knowledge — not the standard we work toHigh-Density Fiberboard: the compressed wood-fiber core of most laminate planks. It absorbs water vapor and swells irreversibly, which is why slab moisture matters.
Stone Plastic Composite: rigid vinyl core made of limestone powder and PVC. Dimensionally stable under humidity swings and unaffected by water.
Wood Plastic Composite: vinyl core with wood flour and foaming agents. Softer and warmer underfoot than SPC, and less dimensionally stable.
Luxury Vinyl Plank: multi-layer vinyl flooring in plank format. Fully waterproof as a material, though the subfloor beneath still governs installation.
Abrasion Class rating for laminate wear resistance, from AC1 to AC6. AC4 suits normal residential use; AC5 handles heavy traffic and light commercial.
A sheet layer placed between slab and flooring to block ground moisture vapor. Required over slab-on-grade construction regardless of surface dryness.
Foundation type where the concrete slab sits directly on the ground, dominant in Florida residential construction. Ground moisture migrates upward continuously.
The permitted deviation of a subfloor across a given span. The common benchmark is 3/16 inch over 10 feet; beyond that, deviation transfers into the locking joints.
A pourable cement-based compound that flows to a level surface, used to correct slab deviation. Needs 24 to 72 hours of cure before flooring goes down.
The 8 to 10 mm clearance left between a floating floor and every fixed vertical surface, absorbing seasonal expansion. Bridging it transfers stress to the joints.
Conditioning flooring material inside the room where it will be installed, 48 to 72 hours before installation, so it reaches interior temperature and humidity.
An angle-in locking profile that joins planks without adhesive. The insertion angle is specified by the manufacturer; forcing it deforms the profile permanently.
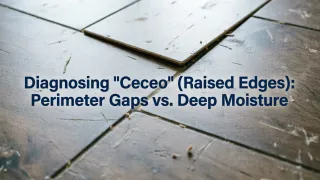
The raised ridge that forms along plank edges when a floating floor expands without room to move. In Florida the usual causes are slab moisture or a bridged expansion gap.