
Pull Bars and Tapping Blocks: Why the Right Tool Protects Your Laminate Floor
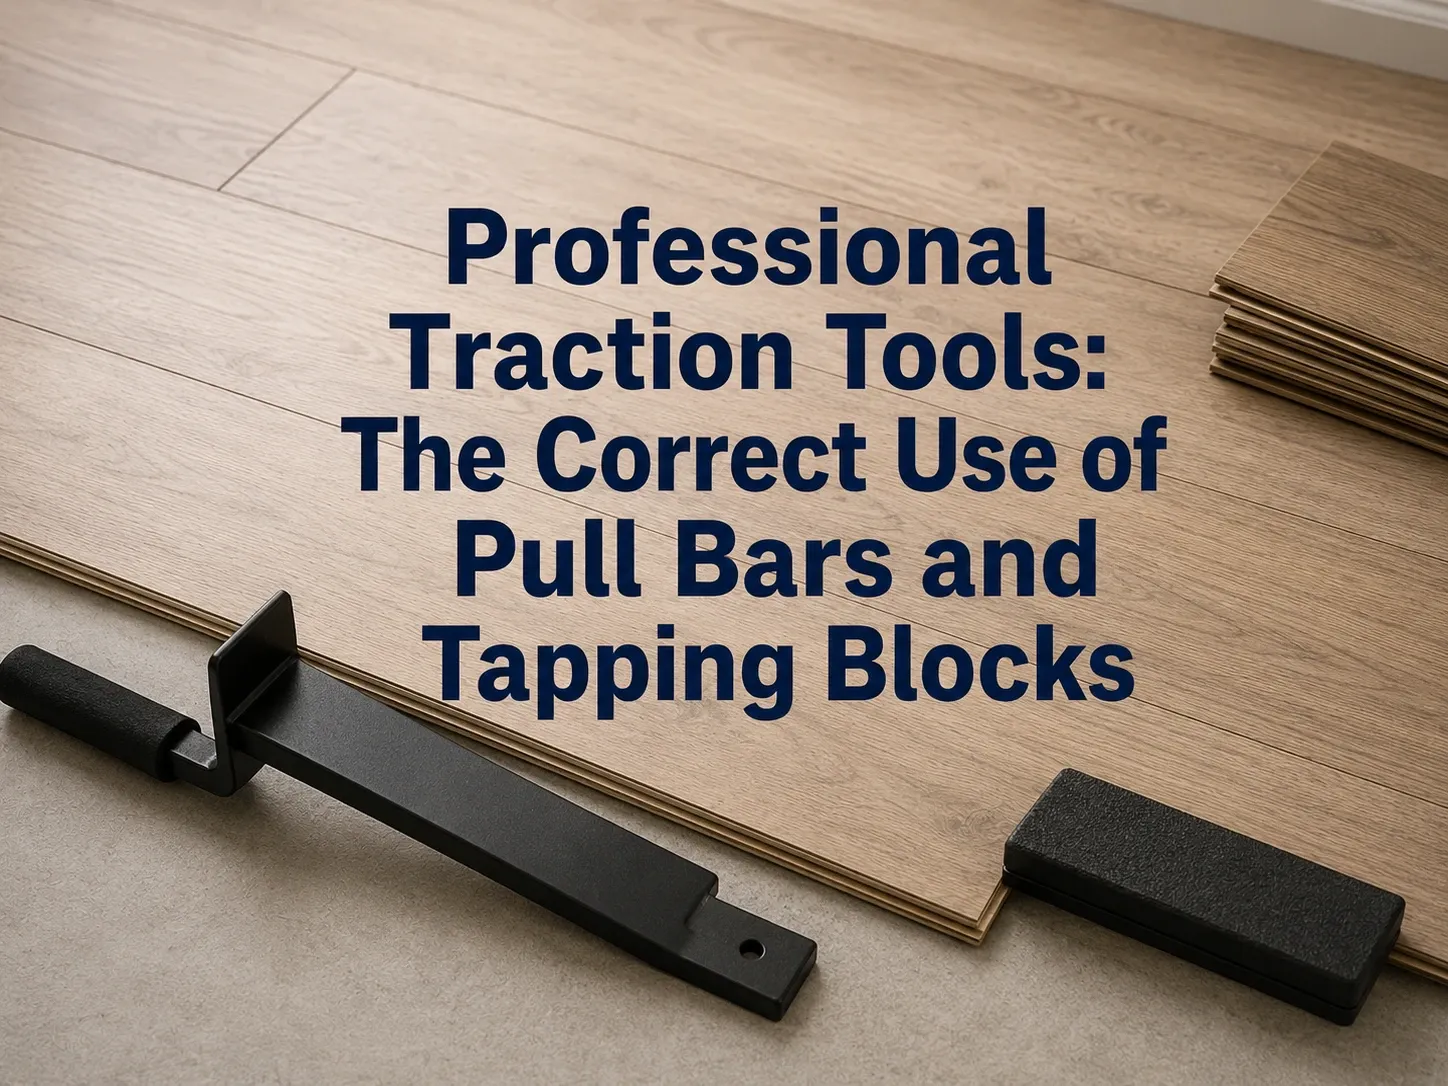
Pull bars and tapping blocks are precision instruments engineered to transmit installation force to the laminate locking profile without damaging the HDF core. Neither tool is interchangeable with an improvised substitute, despite how often both get skipped on DIY laminate projects.
A tapping block must match the specific locking profile of the floor being installed, since a standard tongue-and-groove block shears the more complex geometry of a Uniclic or Valinge joint. When planks reach maximum dimensional expansion after 48–72 hours of acclimatization in a Tampa Bay home, the margin between a properly seated joint and a cracked locking tongue is determined by impact geometry and mallet elasticity, not by how much force gets applied.
Why Does the HDF Locking Profile Fracture Under Direct Impact?
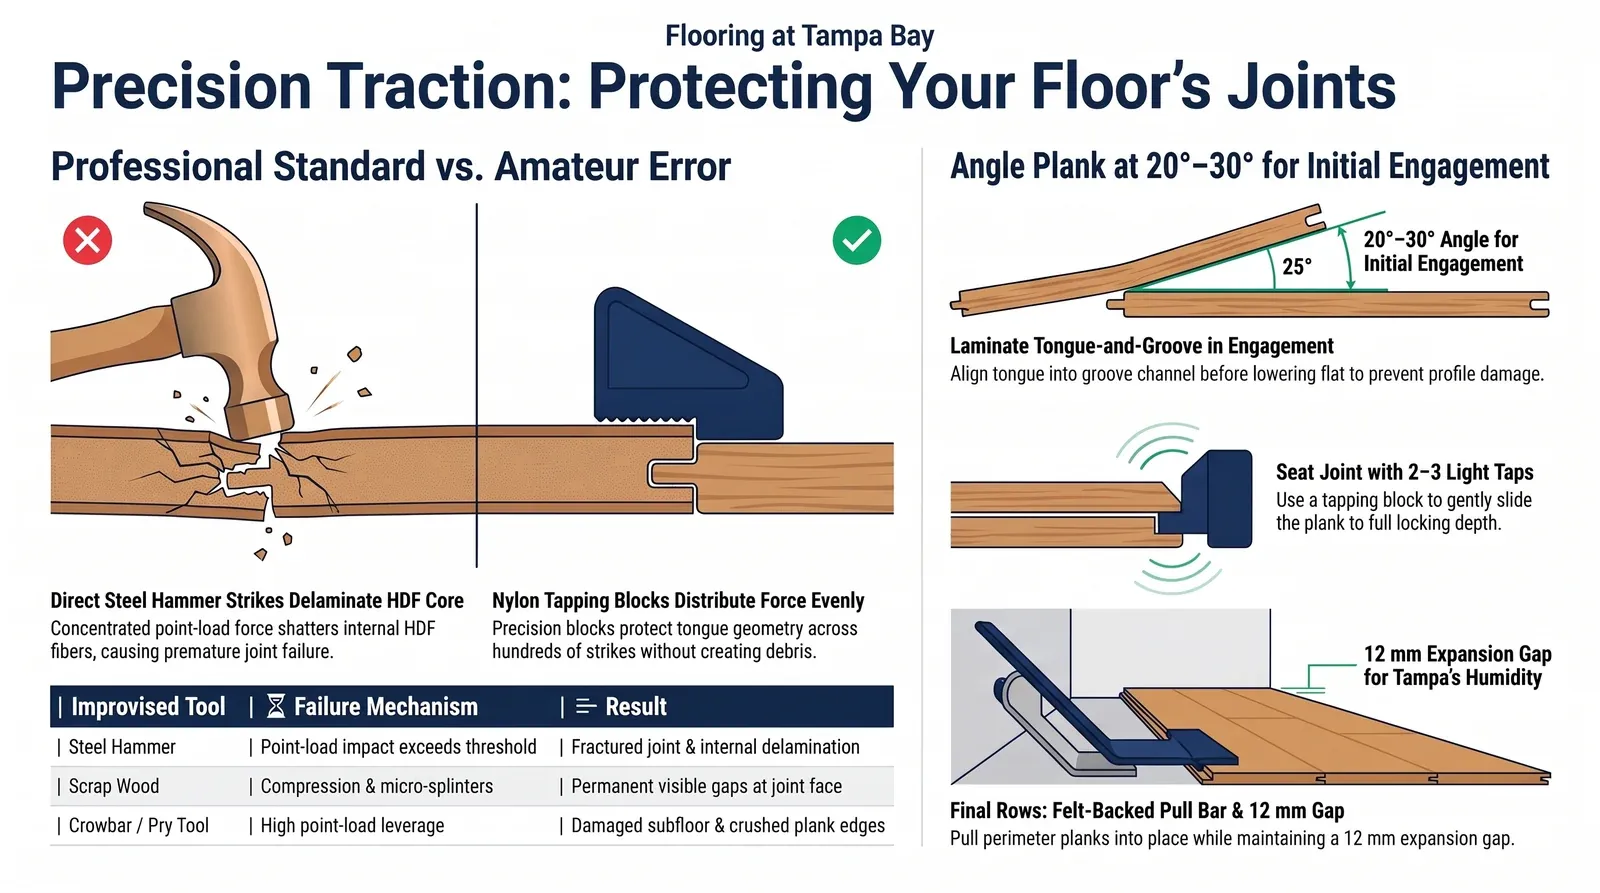
The HDF locking tongue in a laminate click-lock system is a precision-milled fiber composite with a fracture threshold of approximately 15–20 N/mm² under lateral shear. A standard steel hammer delivers an impact pulse of 50–80 N/mm² at the contact point — 3–5 times the tongue’s fracture limit.
Even a single blow without a tapping block causes internal delamination of the HDF fiber layers at the tongue base, a failure invisible from the surface that eliminates the joint’s clamping force within 2–4 weeks of foot traffic. This is the most documented cause of early laminate failure on DIY projects in Brandon, Riverview, and across the Tampa Bay area.
What Is the Correct Tapping Block Material and Why Does It Matter?
A professional tapping block for Uniclic-compatible laminate is machined from high-density nylon or UHMW polyethylene. Both materials distribute impact force across the full contact surface while their molecular structure absorbs the rebound energy component of each mallet strike.
Wood blocks — whether finished lumber or raw scrap — fail under repeated impact at two mechanisms:
- Fiber compression at the contact face creates uneven load distribution after 20–30 strikes
- Micro-splinters from the impact surface lodge inside the locking channel, preventing the tongue from reaching full engagement depth
A 0.3 mm splinter in the Uniclic channel creates a 0.3 mm gap at the visible face of the joint — 3 times the maximum acceptable gap in a professional installation.
How Does a Pull Bar Work and When Is It Required?
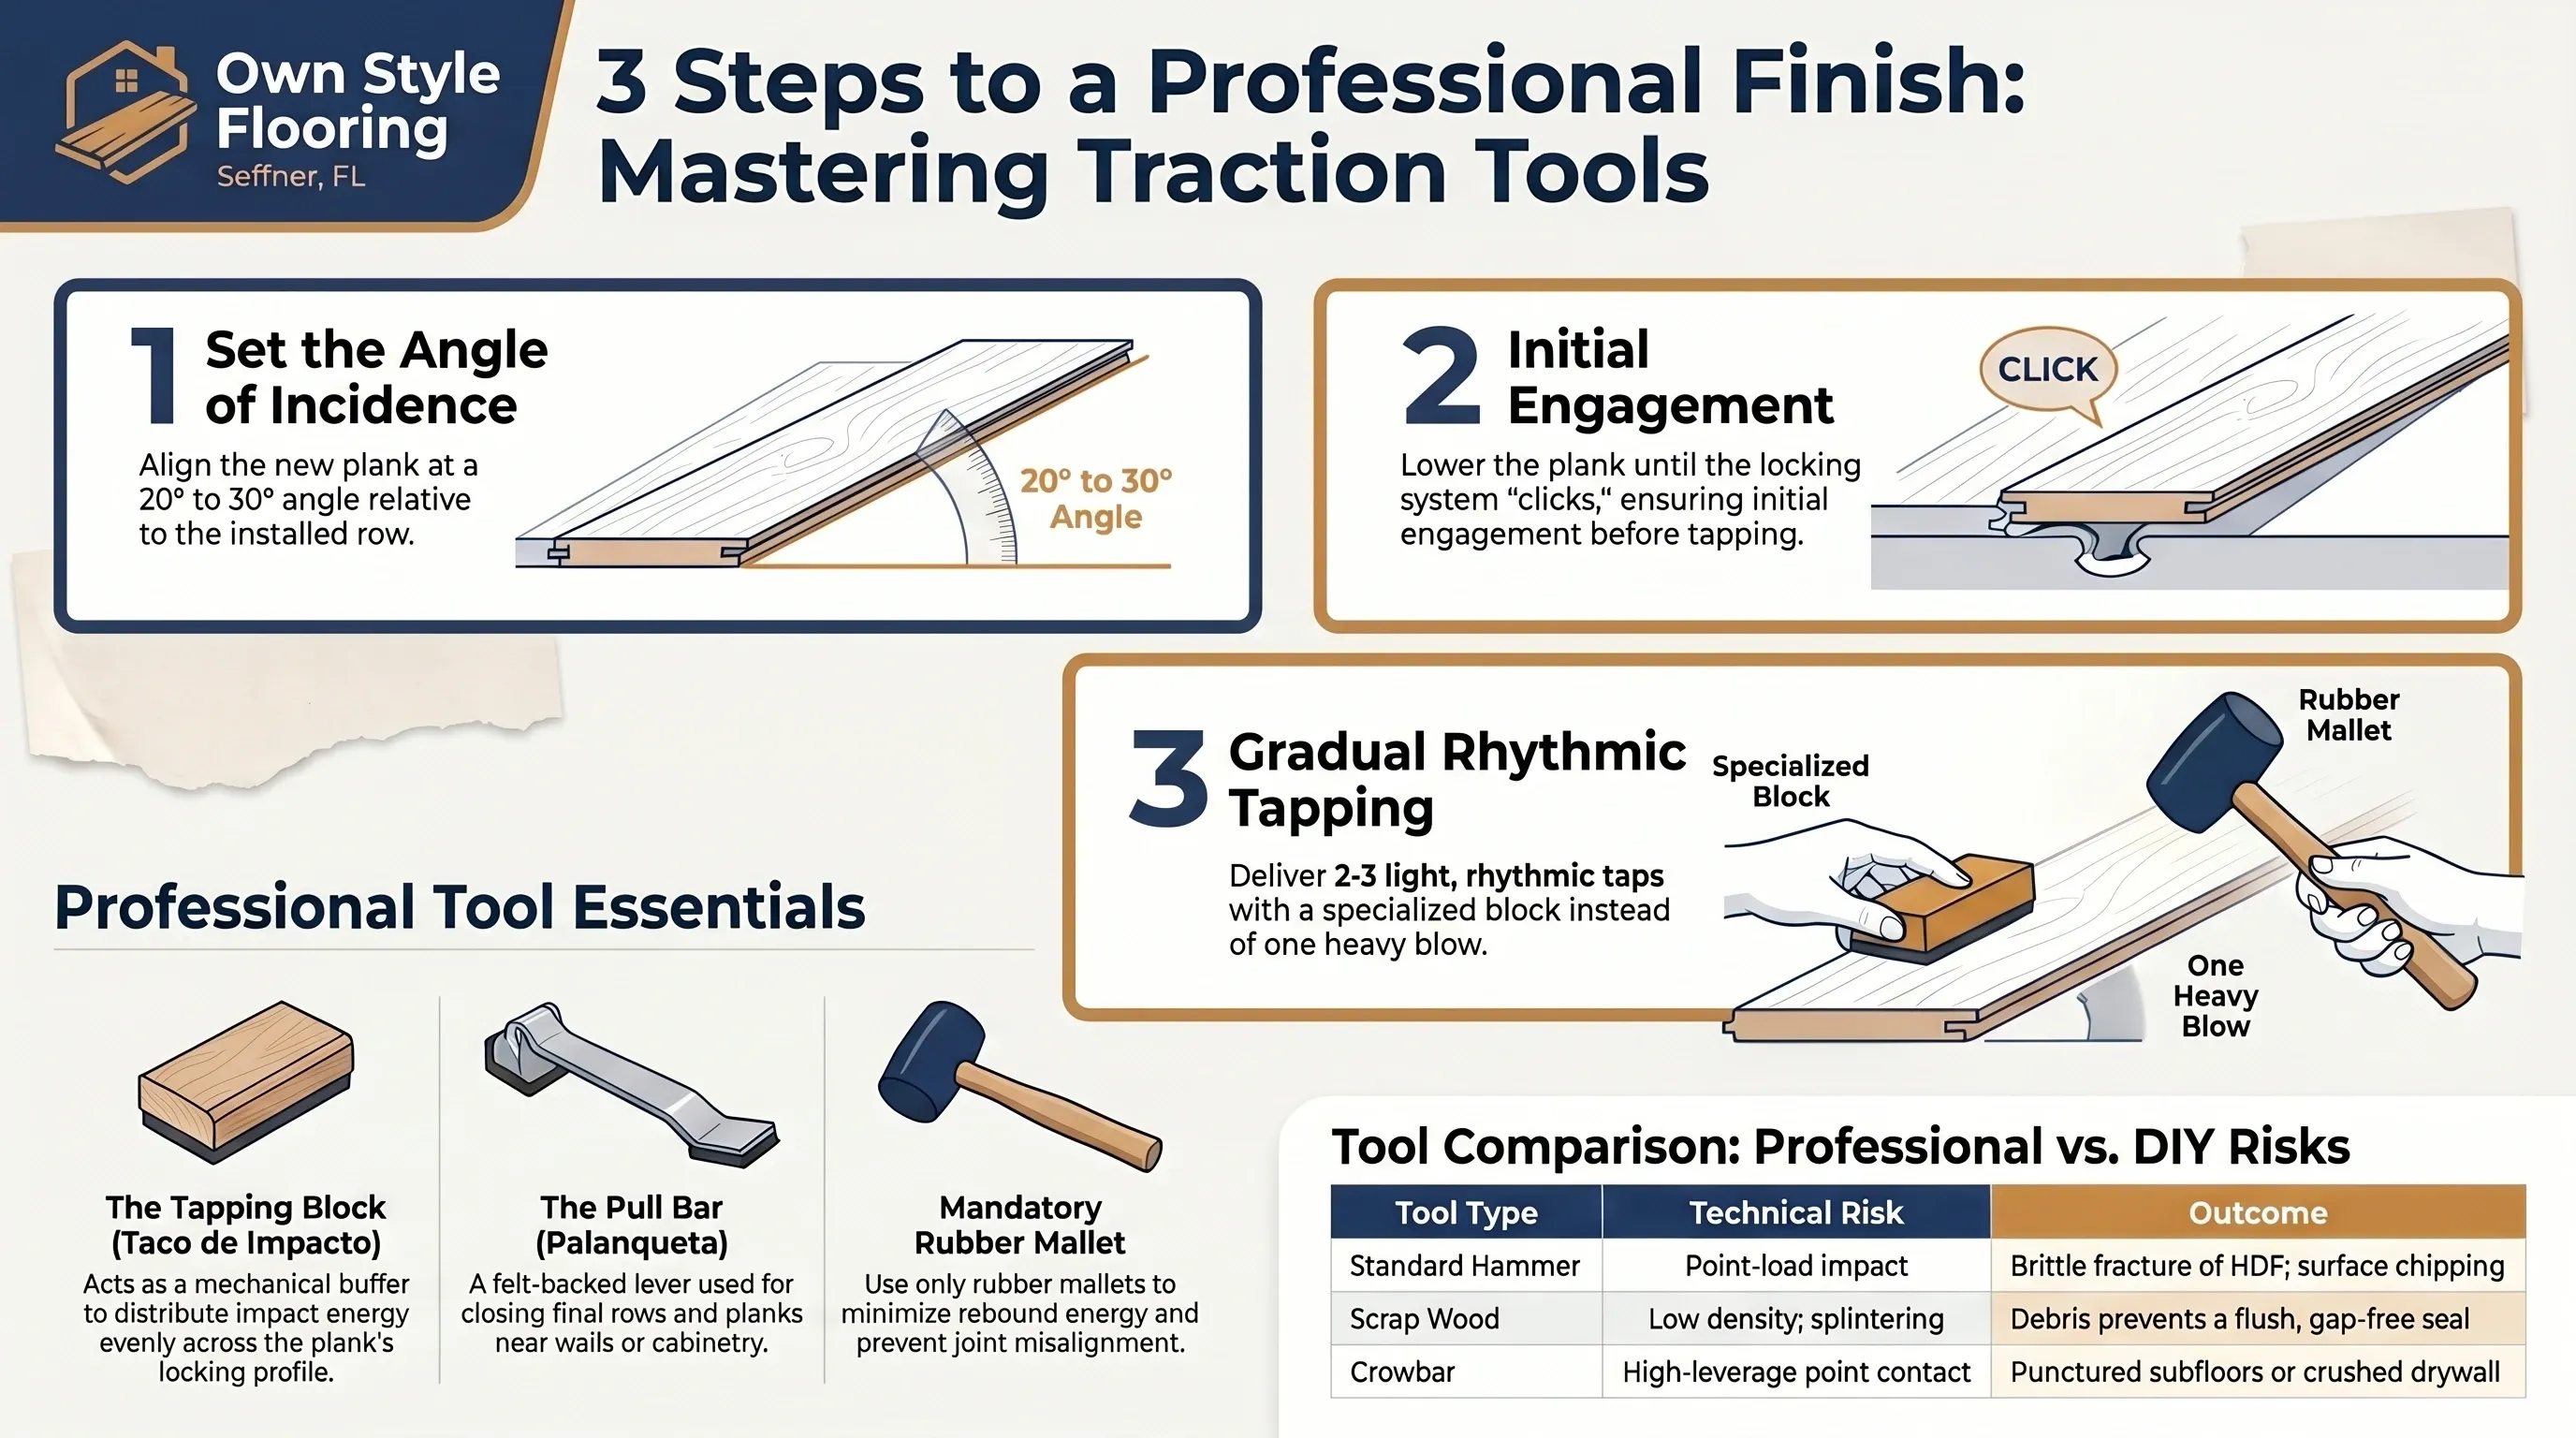
A pull bar is a lever-action tool with a thin angled hook at one end and a raised impact stop at the other. The hook engages the exposed groove edge of the last laminate plank in a row, and rubber mallet strikes on the impact stop translate into horizontal pulling force that seats the plank against the previous row without requiring access space for a tapping block.
Pull bar use is mandatory for every laminate plank placed against a fixed wall, under cabinetry, or at door threshold approaches. The critical specification for a professional pull bar is a felt or foam backing on the hook face: direct metal contact on the wear layer leaves permanent burnish marks within 3–5 strokes.
What Is the Correct Pull Bar Sequence for Final Row Placement?
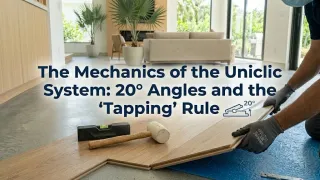
The correct final-row sequence uses the pull bar in combination with the 20–30 degree initial engagement before the plank makes full contact with the wall, and skipping any step in the order below is what causes most final-row joint failures on a Tampa Bay laminate install.
- Hold the final plank at 20 degrees (Method A) and lower until the long-side profile begins to engage — approximately 30–40 % of full lock depth
- Lower the plank flat to the subfloor with the remaining gap still visible
- Hook the pull bar on the exposed groove edge
- Deliver 2–3 gradual mallet strikes to advance the plank to full lock depth
- Verify the perimeter expansion gap is maintained with a 12 mm spacer before proceeding to the next plank
Attempting to drive the final row flat from the start — without the initial 20-degree engagement — forces the tongue directly against the groove wall rather than into the channel, requiring double the pull force and compressing the expansion gap below the 12 mm minimum.
What Improvised Tools Cause the Most Damage?
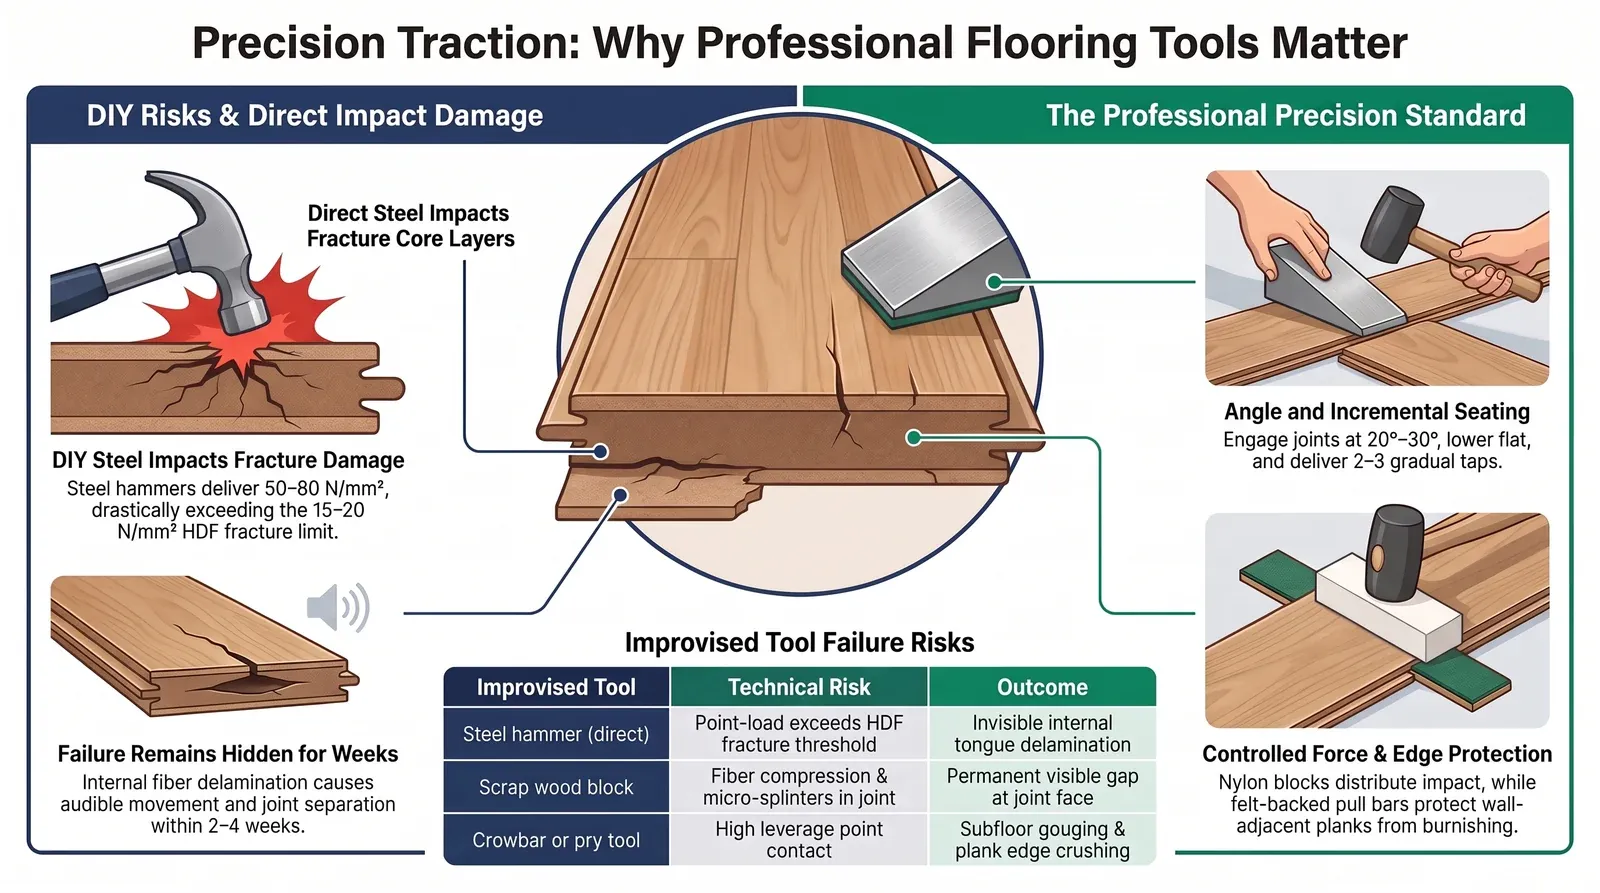
| Improvised Tool | Failure Mechanism | Result |
|---|---|---|
| Steel hammer (direct) | Point-load exceeds HDF fracture threshold | Invisible internal tongue delamination |
| Scrap wood block | Fiber compression + micro-splinters in joint | Permanent gap at joint face |
| Crowbar or pry tool | High leverage point contact, no flat surface | Subfloor gouging, plank edge crushing |
| Rubber floor mallet (direct) | Insufficient force distribution without block | Surface chipping on decorative overlay |
The pull bar and tapping block are the two most frequently missing tools on DIY installations. Their combined cost is small next to what they prevent: they eliminate the most preventable failure mode in laminate installation.
How Do Traction Tools Maintain Expansion Gaps During Installation?
The pull bar provides a critical secondary function beyond plank seating: it allows the installer to apply tension to the final row against the perimeter spacers without shifting the entire floor toward the working wall.
When a floor of 20 or more rows is pulled toward the wall for final-row seating, the collective friction between the underlayment and all installed planks can compress the expansion gap on the opposite wall below the 12 mm minimum. The pull bar’s gradual seating sequence (3 taps maximum per plank) prevents gap compression by keeping each final-row plank’s travel distance under 5 mm per tap cycle.
What Should Be in a Professional Laminate Installer’s Tool Kit?
A correctly equipped installer carries a specific set of impact and leverage tools for every laminate job in a Tampa Bay home, not just a hammer and a scrap block picked up on-site.
- A nylon or UHMW tapping block matched to the specific Uniclic or Valinge profile being installed
- A rubber mallet, Shore A 60–80 hardness, never a steel hammer or claw hammer
- A felt-backed or foam-backed pull bar for every wall, cabinet, and doorway approach
- A 12 mm spacer set to verify the perimeter expansion gap at every final-row plank
- A 1.8-meter aluminum straightedge to confirm subfloor planimetry before installation begins
Each tool addresses a specific failure mode described throughout this guide, and none of them substitutes for another — a tapping block cannot do a pull bar’s job at a wall, and a pull bar cannot seat a mid-row joint the way a tapping block does.
Planning a flooring project in Tampa Bay? Every quote starts with a moisture reading of the slab, at no cost. Get your free photo estimate or call (813) 455-5756.
Frequently asked questions
Can I use a wooden scrap block instead of a nylon tapping block for laminate installation?
No. Wood blocks compress and splinter under repeated impact, releasing micro-fragments that lodge inside the Uniclic locking channel. A 0.3 mm wood splinter prevents full tongue engagement, creating a permanent visible gap at the joint face. Nylon tapping blocks maintain consistent contact surface geometry across hundreds of strikes without generating debris.
Why is my laminate floor separating even though I used a pull bar?
Pull bar separation is almost always a subfloor issue. The pull bar closes the gap correctly, but the subfloor beneath the joint has a deviation exceeding 2 mm over 1 meter, creating a lever arm that opens the joint again under the first footfall. Subfloor planimetry must be verified with a 1.8-meter aluminum straightedge before installation.
Do I need a pull bar if the room is large and I have space to work?
Yes. Regardless of room size, a pull bar is required for every plank placed against a fixed wall, under door casings, or at any position where the tapping block cannot reach the exposed groove edge. The pull bar also maintains the 12 mm perimeter expansion gap during final-row placement.
What happens if I hit a laminate plank directly with a steel hammer?
A direct steel hammer blow delivers 50–80 N/mm² of point-load impact to the HDF locking tongue — 3–5 times the tongue's fracture threshold. Internal fiber delamination is not visible immediately. Damage becomes audible within 2–4 weeks as the fractured tongue micro-moves under foot traffic. Row replacement is the only repair option.


US standard for measuring relative humidity inside a concrete slab using in-situ probes drilled to 40% of slab depth, read after 72 hours of equilibration.
US standard for measuring moisture vapor emission from a concrete slab using anhydrous calcium chloride, expressed in pounds per 1,000 sq ft per 24 hours.
US standard practice for preparing concrete floors to receive resilient flooring. Covers flatness, cleanliness, and moisture condition before installation.
The building code in force across Florida, including moisture and structural requirements that apply to slab-on-grade residential construction.
European deep-core moisture test that reacts a slab sample with calcium carbide and reads the resulting gas pressure. Supporting knowledge: the applicable US standards are ASTM F2170 and F1869.
Supporting knowledge — not the standard we work toGerman standard series for floor screeds, source of the widely cited 2.0% CM cement and 0.5% CM anhydrite thresholds. Supporting knowledge, not the applicable US standard.
Supporting knowledge — not the standard we work toHigh-Density Fiberboard: the compressed wood-fiber core of most laminate planks. It absorbs water vapor and swells irreversibly, which is why slab moisture matters.
Stone Plastic Composite: rigid vinyl core made of limestone powder and PVC. Dimensionally stable under humidity swings and unaffected by water.
Wood Plastic Composite: vinyl core with wood flour and foaming agents. Softer and warmer underfoot than SPC, and less dimensionally stable.
Luxury Vinyl Plank: multi-layer vinyl flooring in plank format. Fully waterproof as a material, though the subfloor beneath still governs installation.
Abrasion Class rating for laminate wear resistance, from AC1 to AC6. AC4 suits normal residential use; AC5 handles heavy traffic and light commercial.
A sheet layer placed between slab and flooring to block ground moisture vapor. Required over slab-on-grade construction regardless of surface dryness.
Foundation type where the concrete slab sits directly on the ground, dominant in Florida residential construction. Ground moisture migrates upward continuously.
The permitted deviation of a subfloor across a given span. The common benchmark is 3/16 inch over 10 feet; beyond that, deviation transfers into the locking joints.
A pourable cement-based compound that flows to a level surface, used to correct slab deviation. Needs 24 to 72 hours of cure before flooring goes down.
The 8 to 10 mm clearance left between a floating floor and every fixed vertical surface, absorbing seasonal expansion. Bridging it transfers stress to the joints.
Conditioning flooring material inside the room where it will be installed, 48 to 72 hours before installation, so it reaches interior temperature and humidity.
An angle-in locking profile that joins planks without adhesive. The insertion angle is specified by the manufacturer; forcing it deforms the profile permanently.
The raised ridge that forms along plank edges when a floating floor expands without room to move. In Florida the usual causes are slab moisture or a bridged expansion gap.