
Installation
17 articles
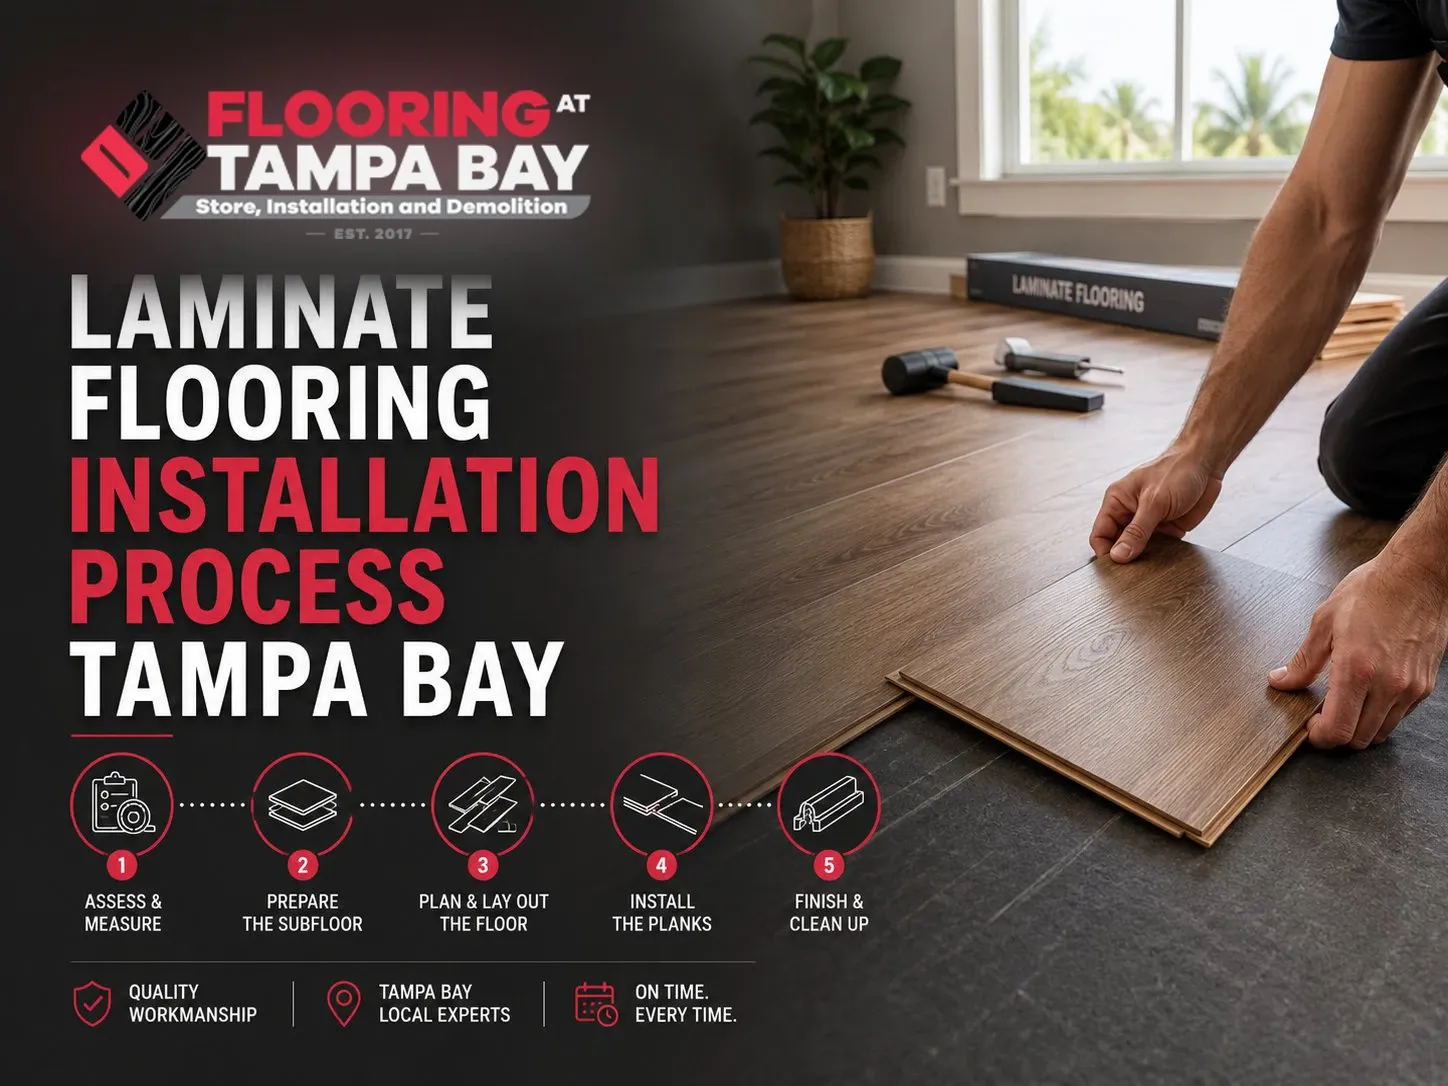
How Does Professional Laminate Flooring Installation Work in Tampa Bay?
The full laminate installation process for Tampa Bay homes: slab assessment, layout planning, expansion clearances and transitions, stage by stage.
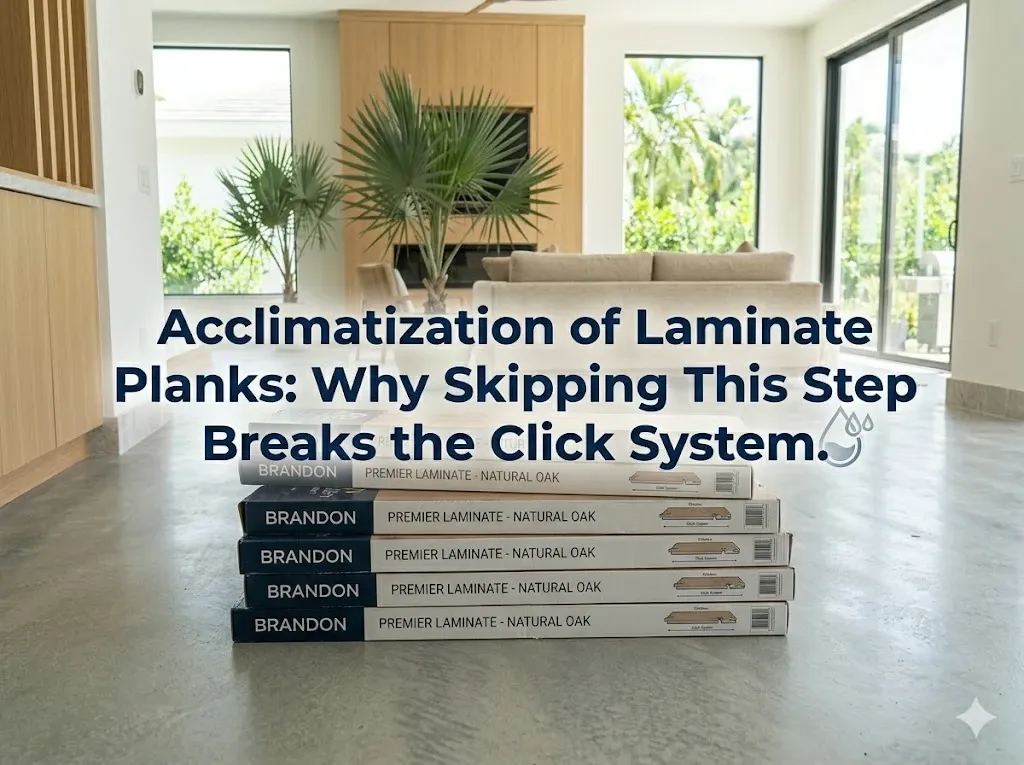
Why Laminate Flooring Must Acclimate 48–72 Hours Before Installation in Tampa Bay
Laminate planks must reach equilibrium with indoor conditions before installation. Skipping the 48-hour rule snaps click joints from inside.

How to Cut Laminate Flooring Without Chipping: Jigsaw vs. Hand Saw Orientation
Chip-free cuts on laminate flooring require matching plank orientation to the tool's stroke direction.

Click-Lock vs Glue-Down Installation in Tampa Bay: Pros, Cons, and Which to Choose
Click-lock and glue-down are the two methods for installing LVP and laminate in Tampa Bay. Compare Florida humidity performance, repair access, and cost.
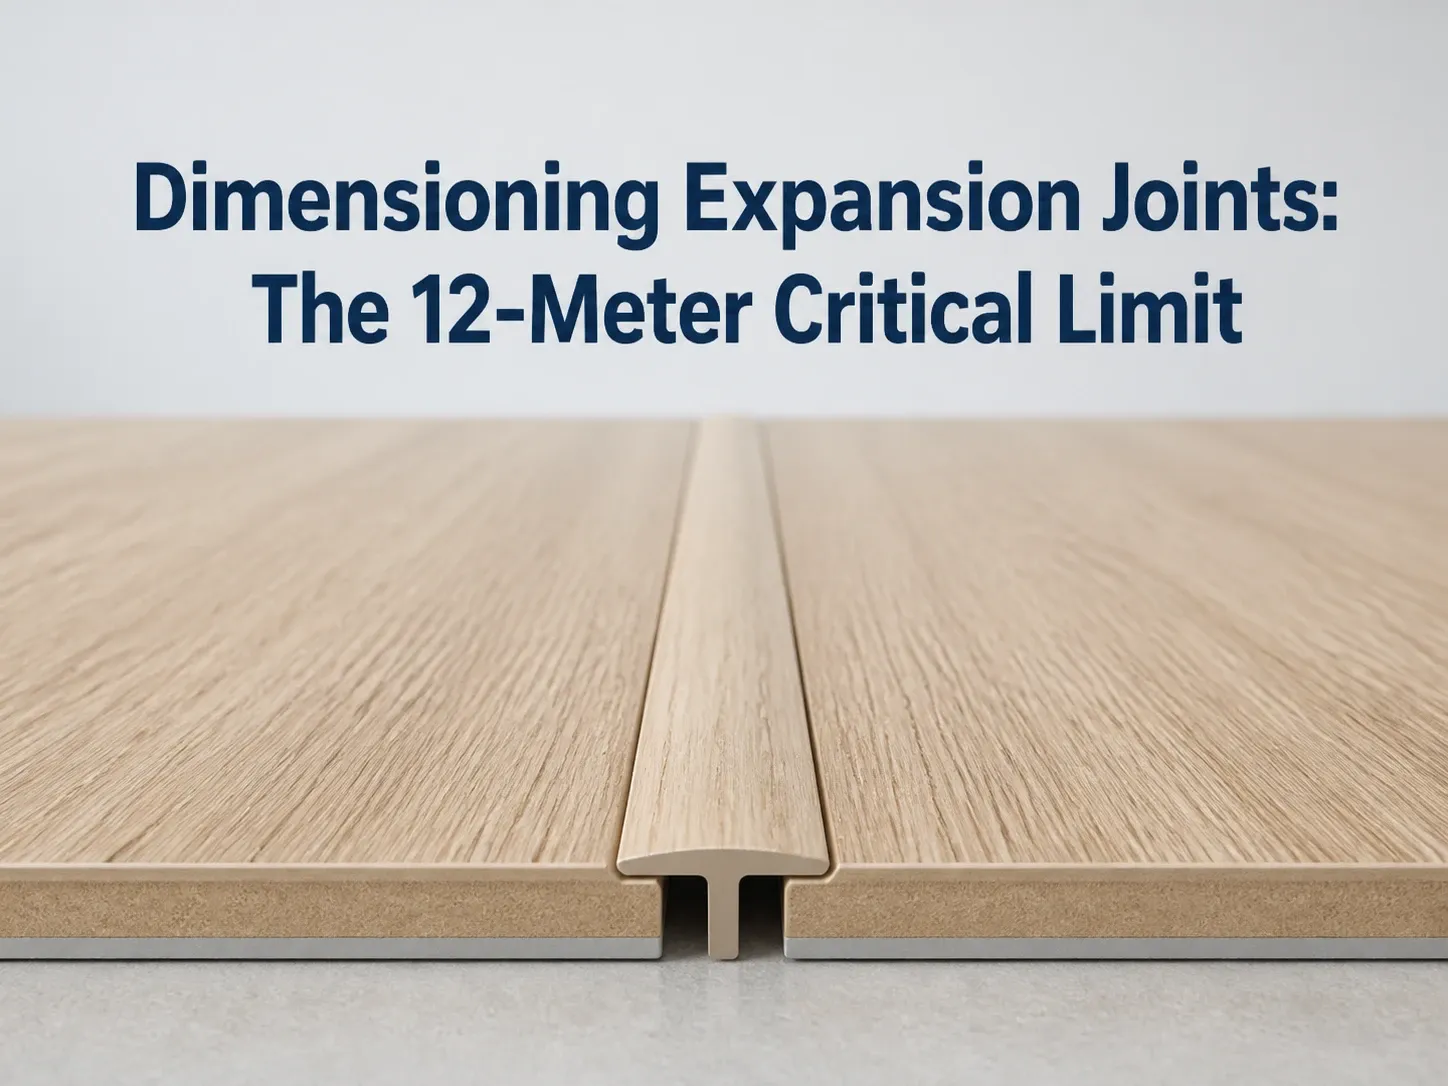
Why Laminate Floors Need Expansion Joints After 12 Meters
Laminate flooring requires a T-profile expansion joint whenever the continuous floating surface exceeds 12 meters.
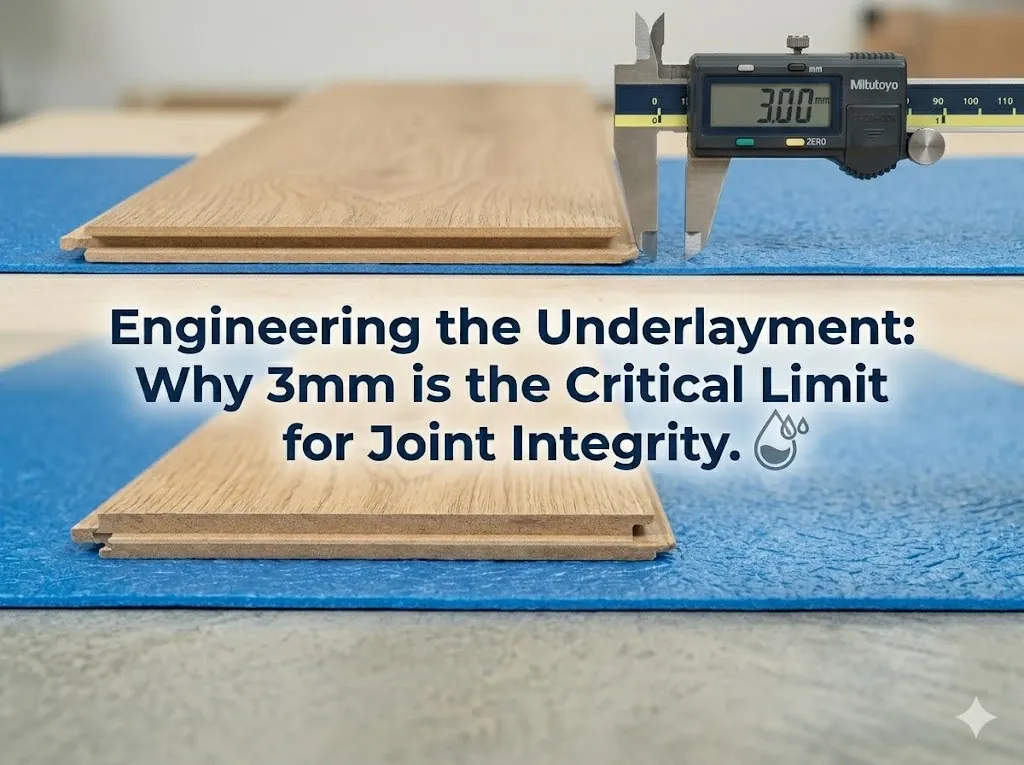
Why Underlayment Thickness Cannot Exceed 3 mm for Laminate Flooring
Laminate underlayment must not exceed 3 mm and must meet 60 kPa compressive strength. Thicker foam destroys click joints — here is why.
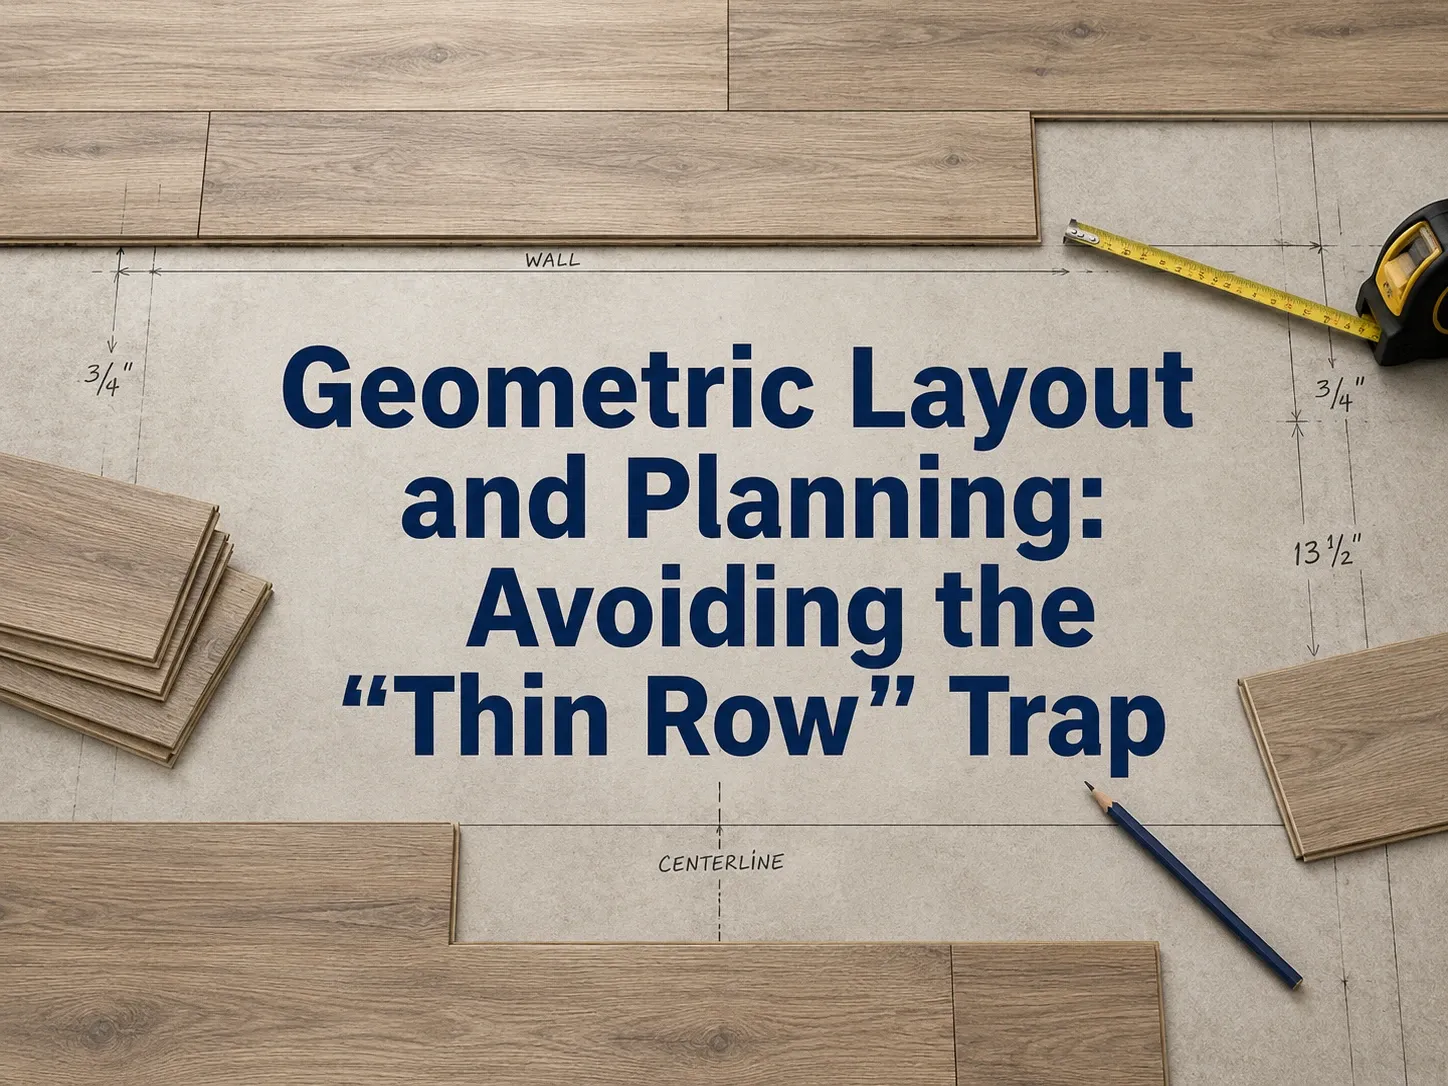
How to Calculate Flooring Row Widths and Avoid the Thin Row Trap
A final laminate row narrower than 5 cm is a structural failure point. Learn the Net Width formula and the split-the-difference fix for balanced floor layouts.

Horizontal Undercutting of Door Jambs: Why It Prevents Laminate Floor Failure
Horizontal undercutting of door jambs allows laminate planks to slide beneath casings while preserving the mandatory 8–10 mm expansion gap.
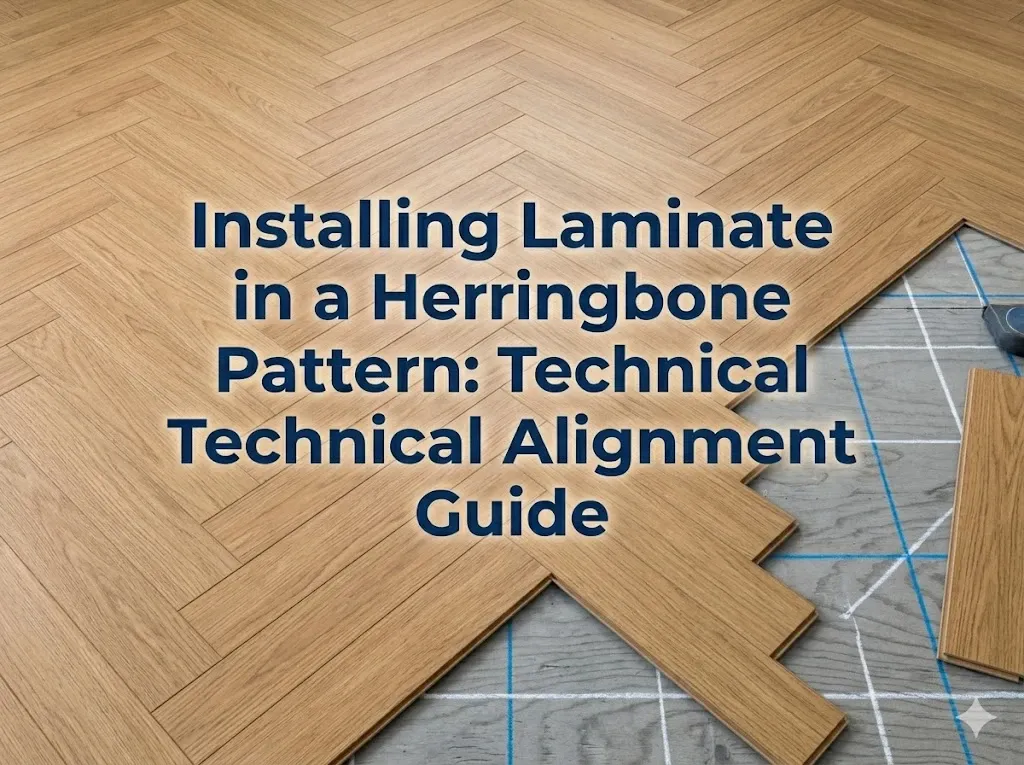
Installing Herringbone Laminate Flooring: Technical Alignment Guide
Herringbone laminate requires purpose-built A and B planks, a center-line reference, and specialized 90-degree clicking technique.
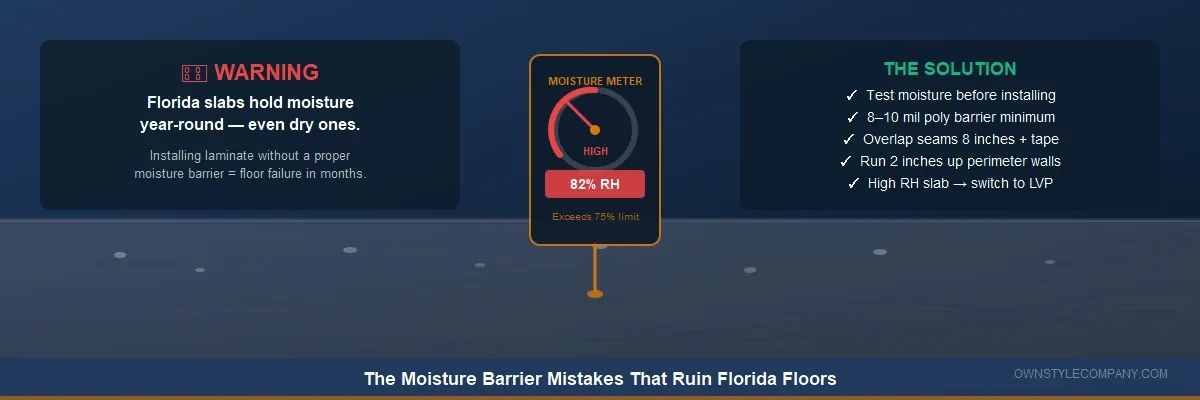
Laminate on Concrete Slabs in Florida: The Moisture Barrier Mistakes That Cause Failure
Florida concrete slabs retain ground moisture year-round. Without the correct moisture barrier, laminate swells, buckles, and develops mold within months.
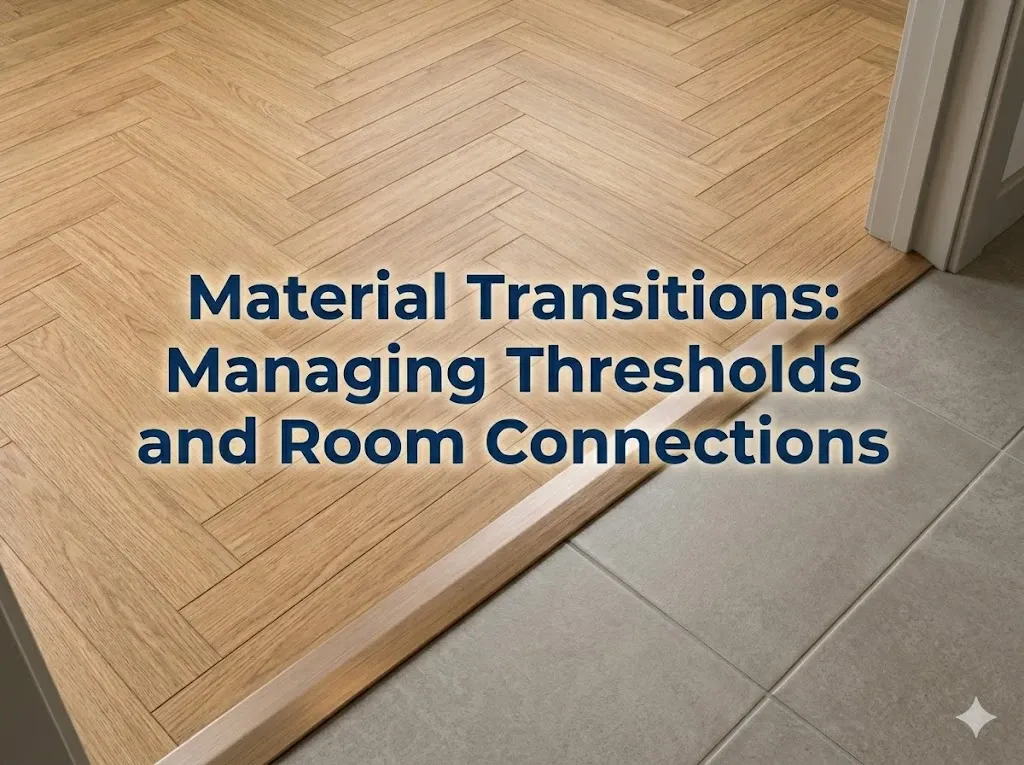
Laminate Flooring Transitions: Managing Thresholds and Material Connections
Flooring transitions are structural, not decorative trim. The 30 mm profile rule and how to connect laminate to tile or carpet safely in Tampa Bay homes.
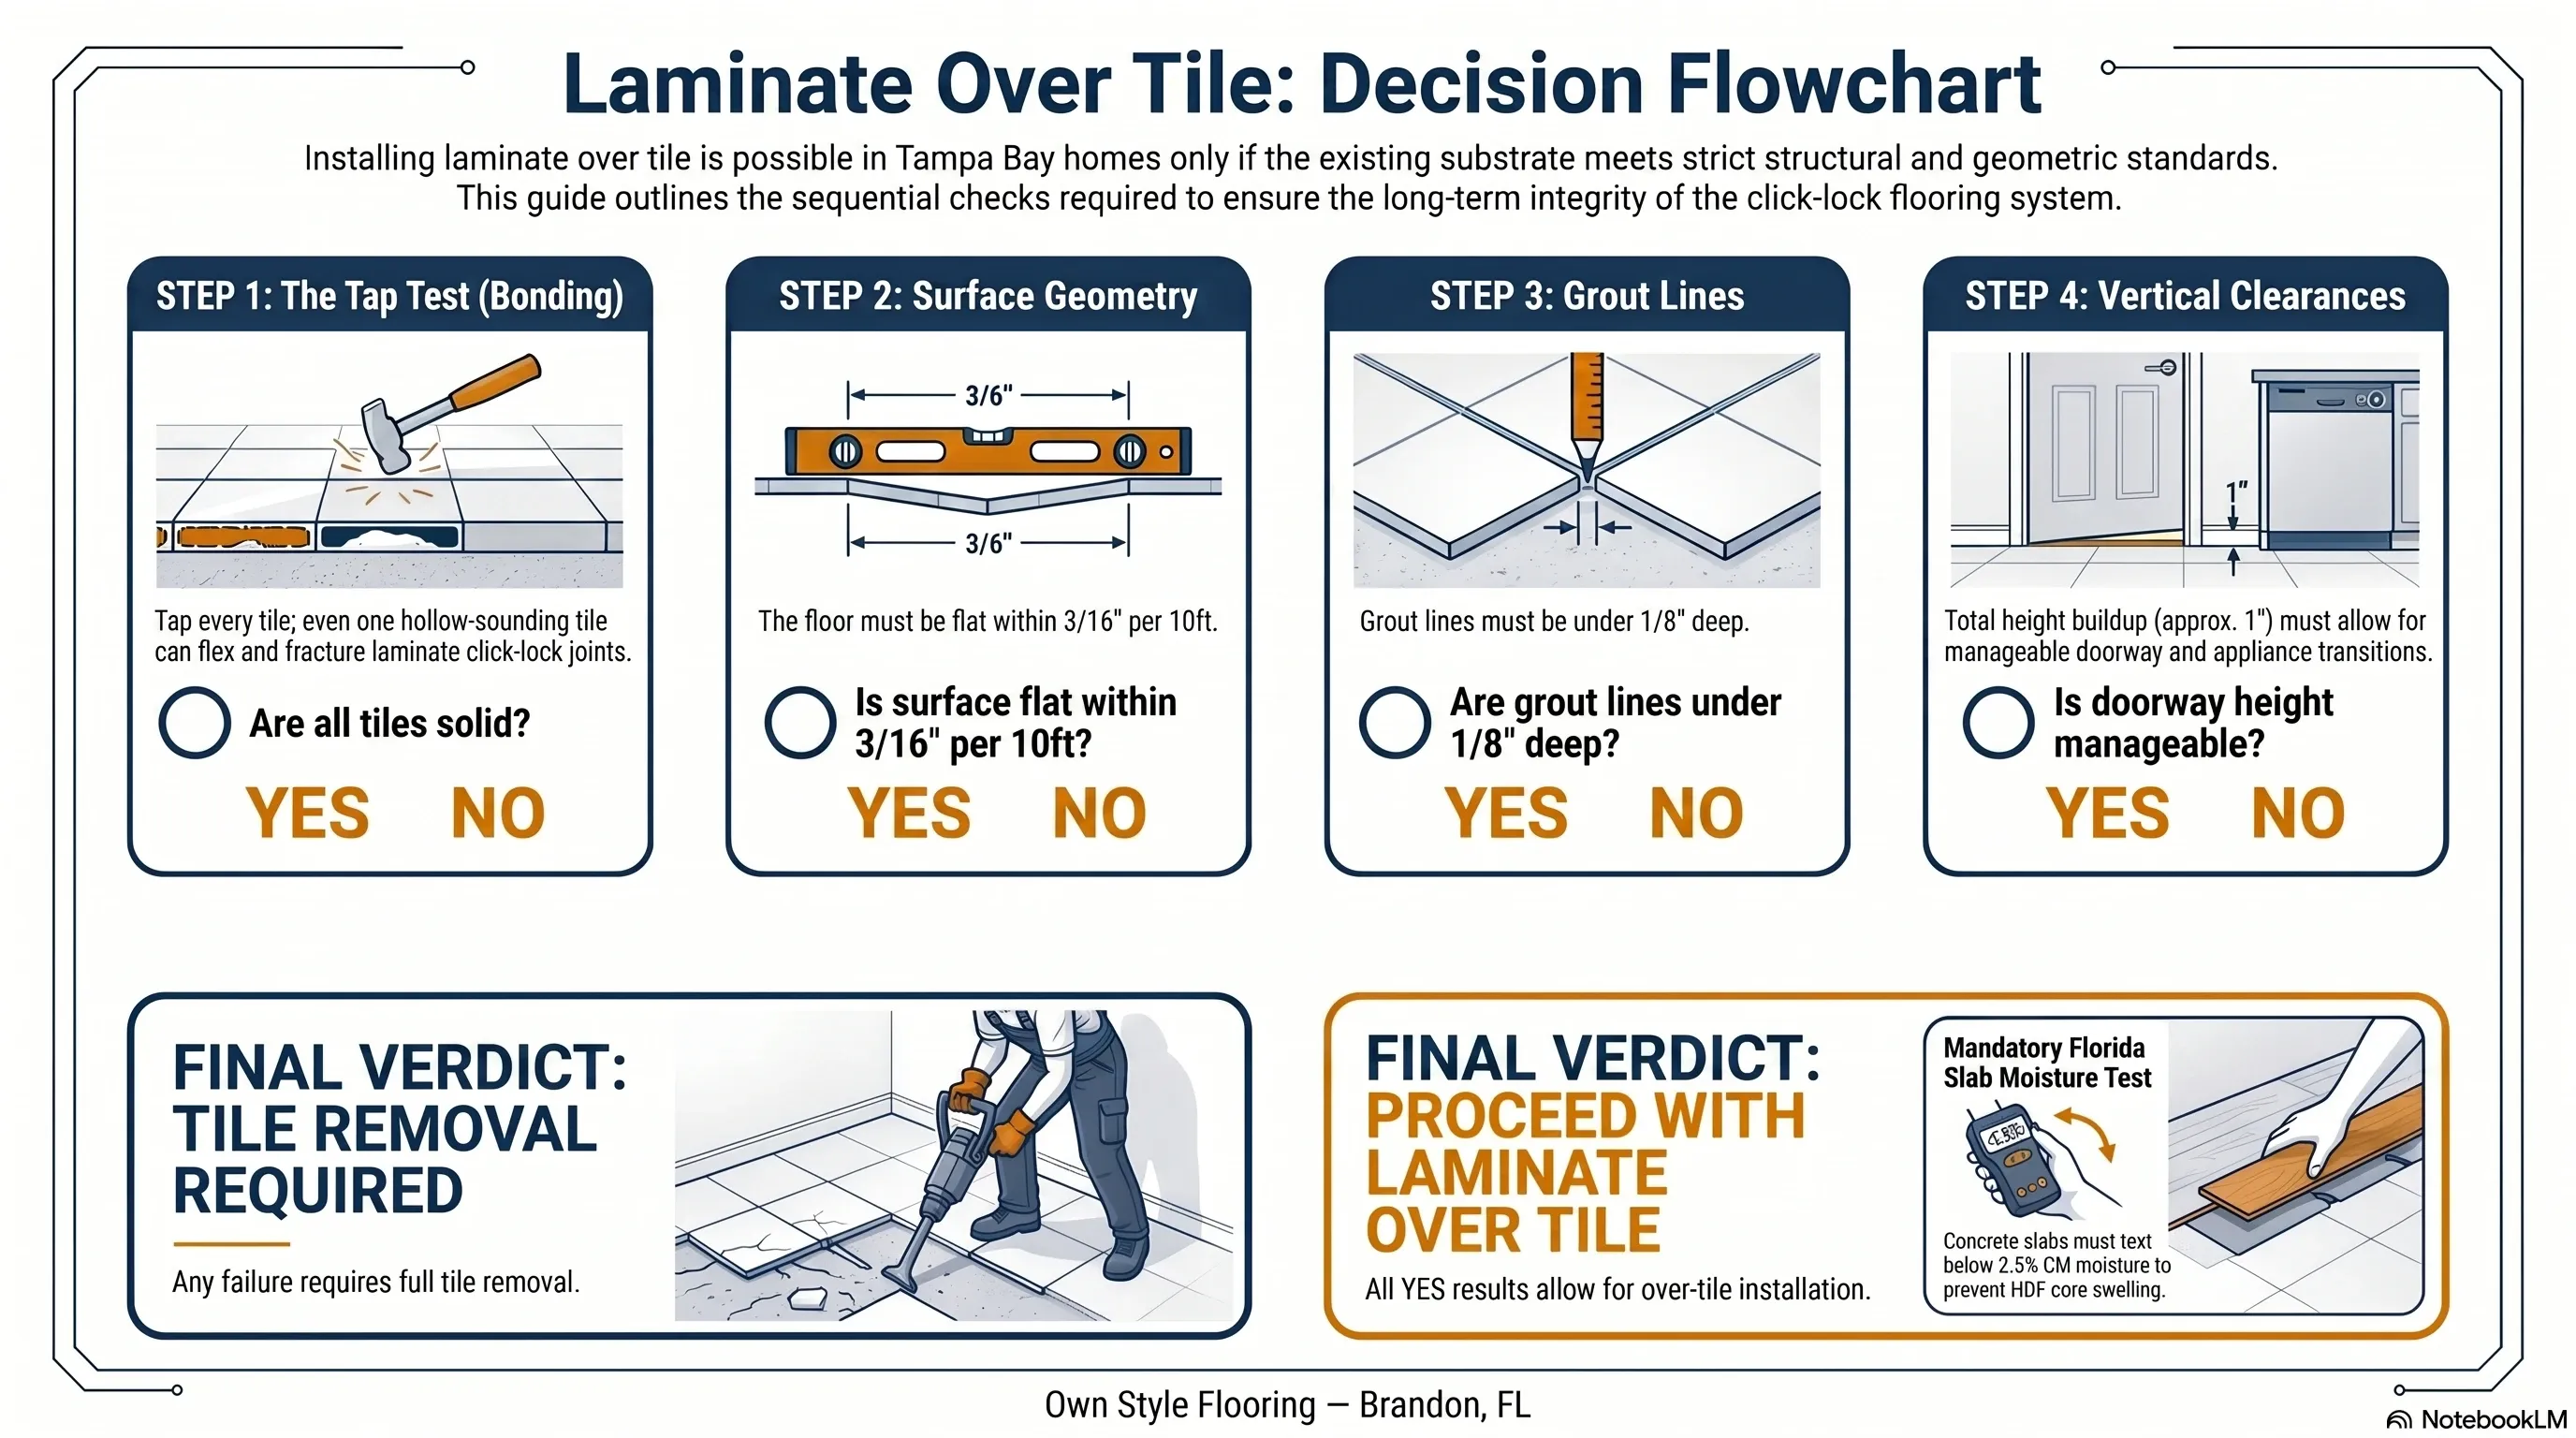
Can You Install Laminate Flooring Over Tile in Tampa Bay? What Installers Check
Yes — with conditions. Tampa Bay installers explain when laminate can go over existing tile, what to check, and when tile removal is necessary.

How to Install Laminate Flooring Around Pipes: The Diameter + 20 mm Rule
Installing laminate around pipes requires drilling a hole equal to the pipe's outer diameter plus 20 mm.
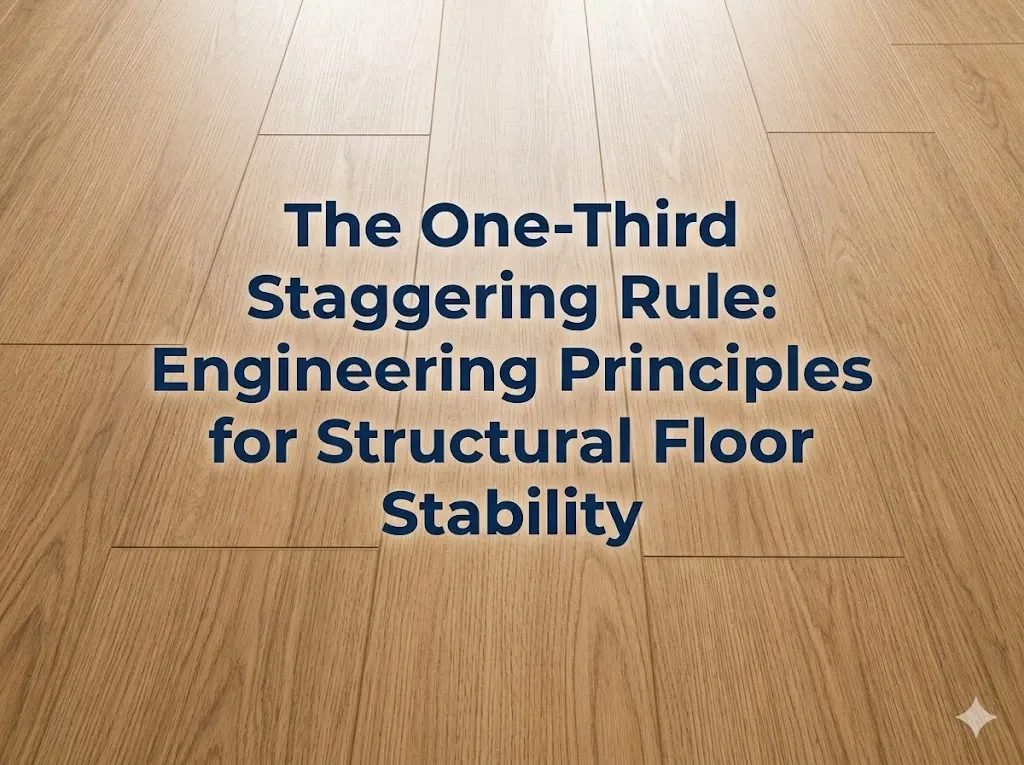
The One-Third Staggering Rule: Why Joint Offset Prevents Floor Failure
The one-third staggering rule requires 30 cm joint offset per EN 13329 to distribute structural load across the entire laminate floor.
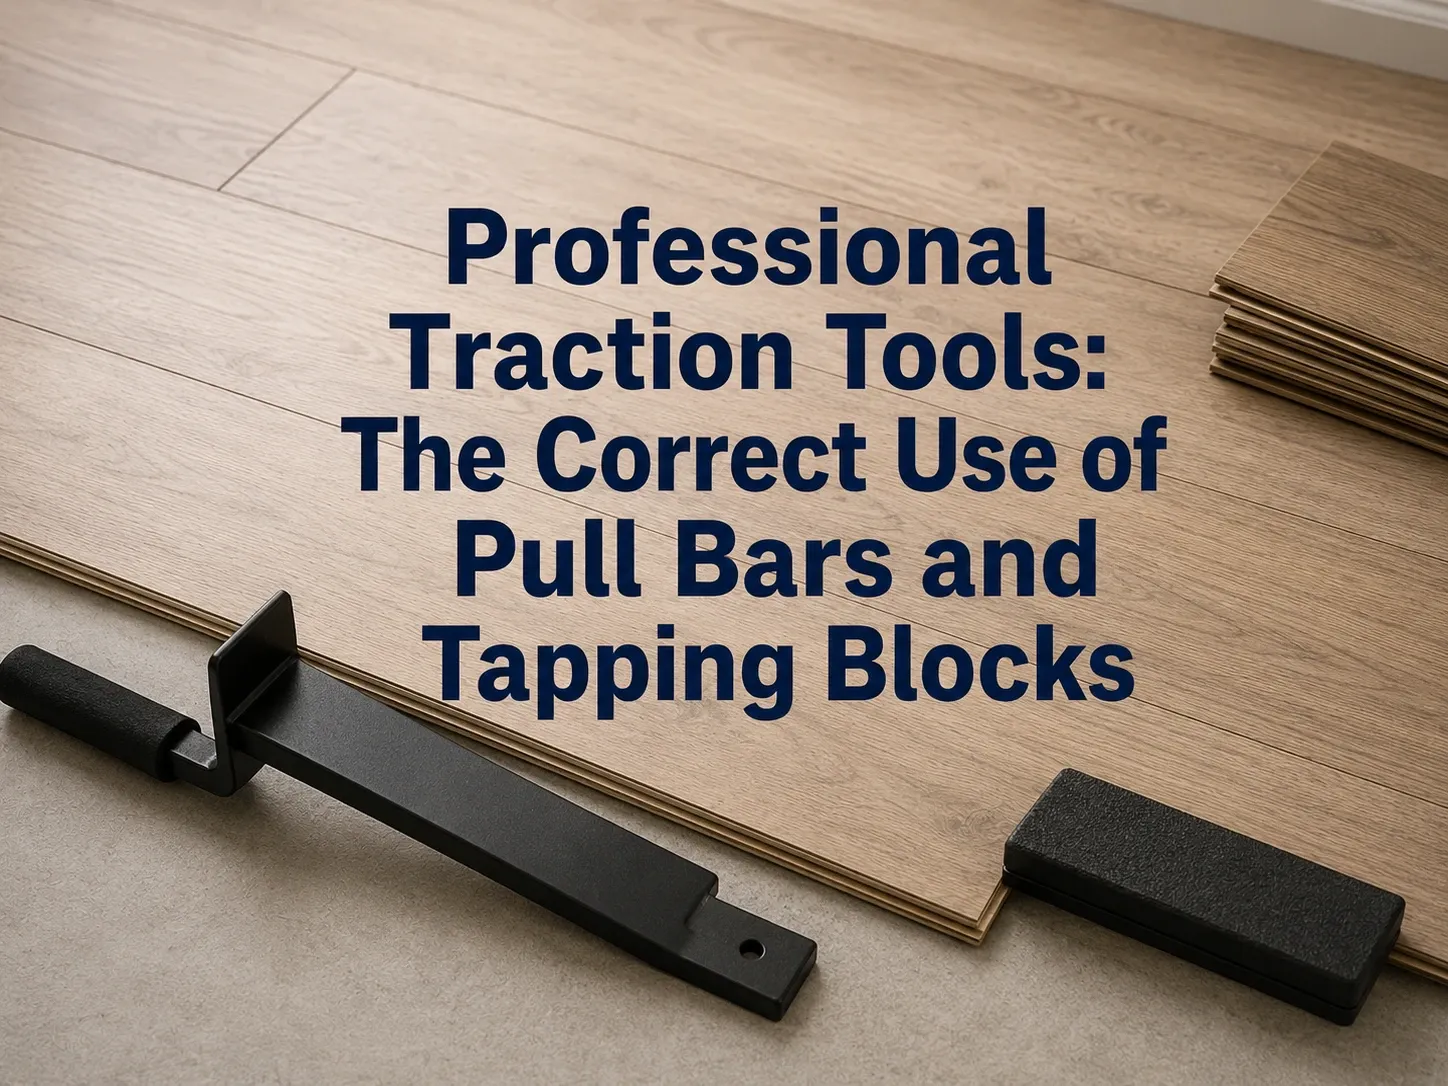
Pull Bars and Tapping Blocks: Why the Right Tool Protects Your Laminate Floor
Pull bars and tapping blocks are precision instruments that protect HDF locking profiles during laminate installation.

Radiant Heating & Laminate Flooring Protocol for Tampa Bay Homes
Can laminate go over radiant heat in Florida? The 21-day curing rule, thermal resistance limits and the heating protocol that prevents warping.
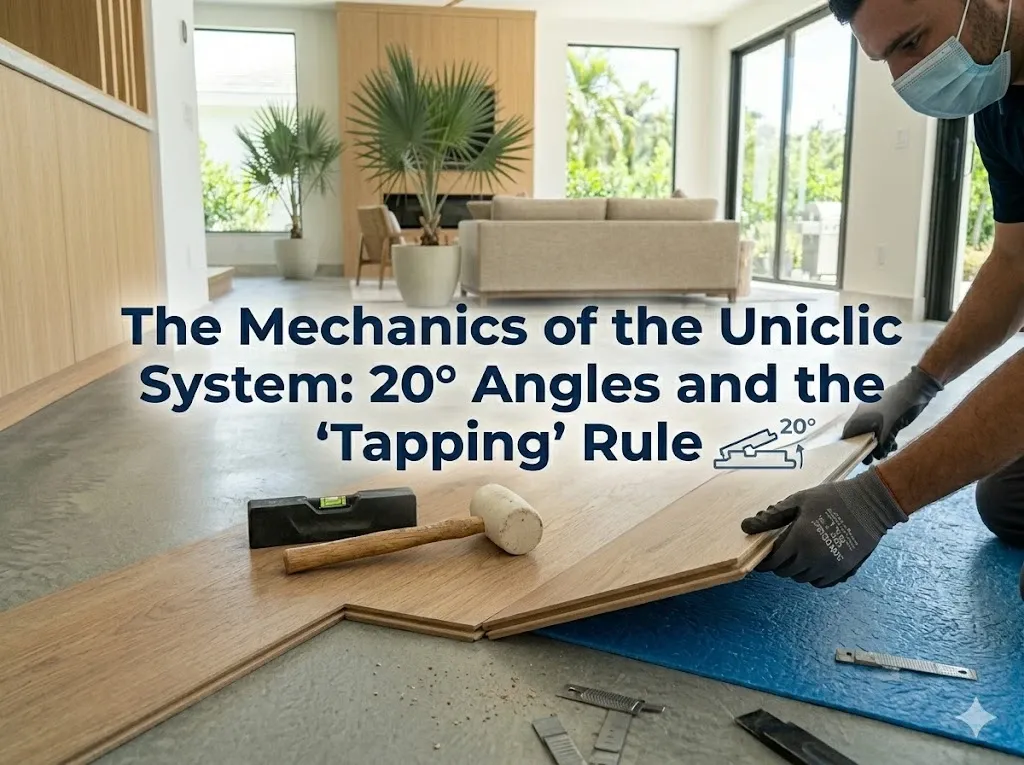
How the Uniclic System Works: The 20-Degree Angle and Tapping Rule for Laminate Installation
The Uniclic system connects planks via a 20–30° angle (Method A) or flat tapping (Method B). Using a hammer instead of a certified block destroys joints.