
How to Calculate Flooring Row Widths and Avoid the Thin Row Trap

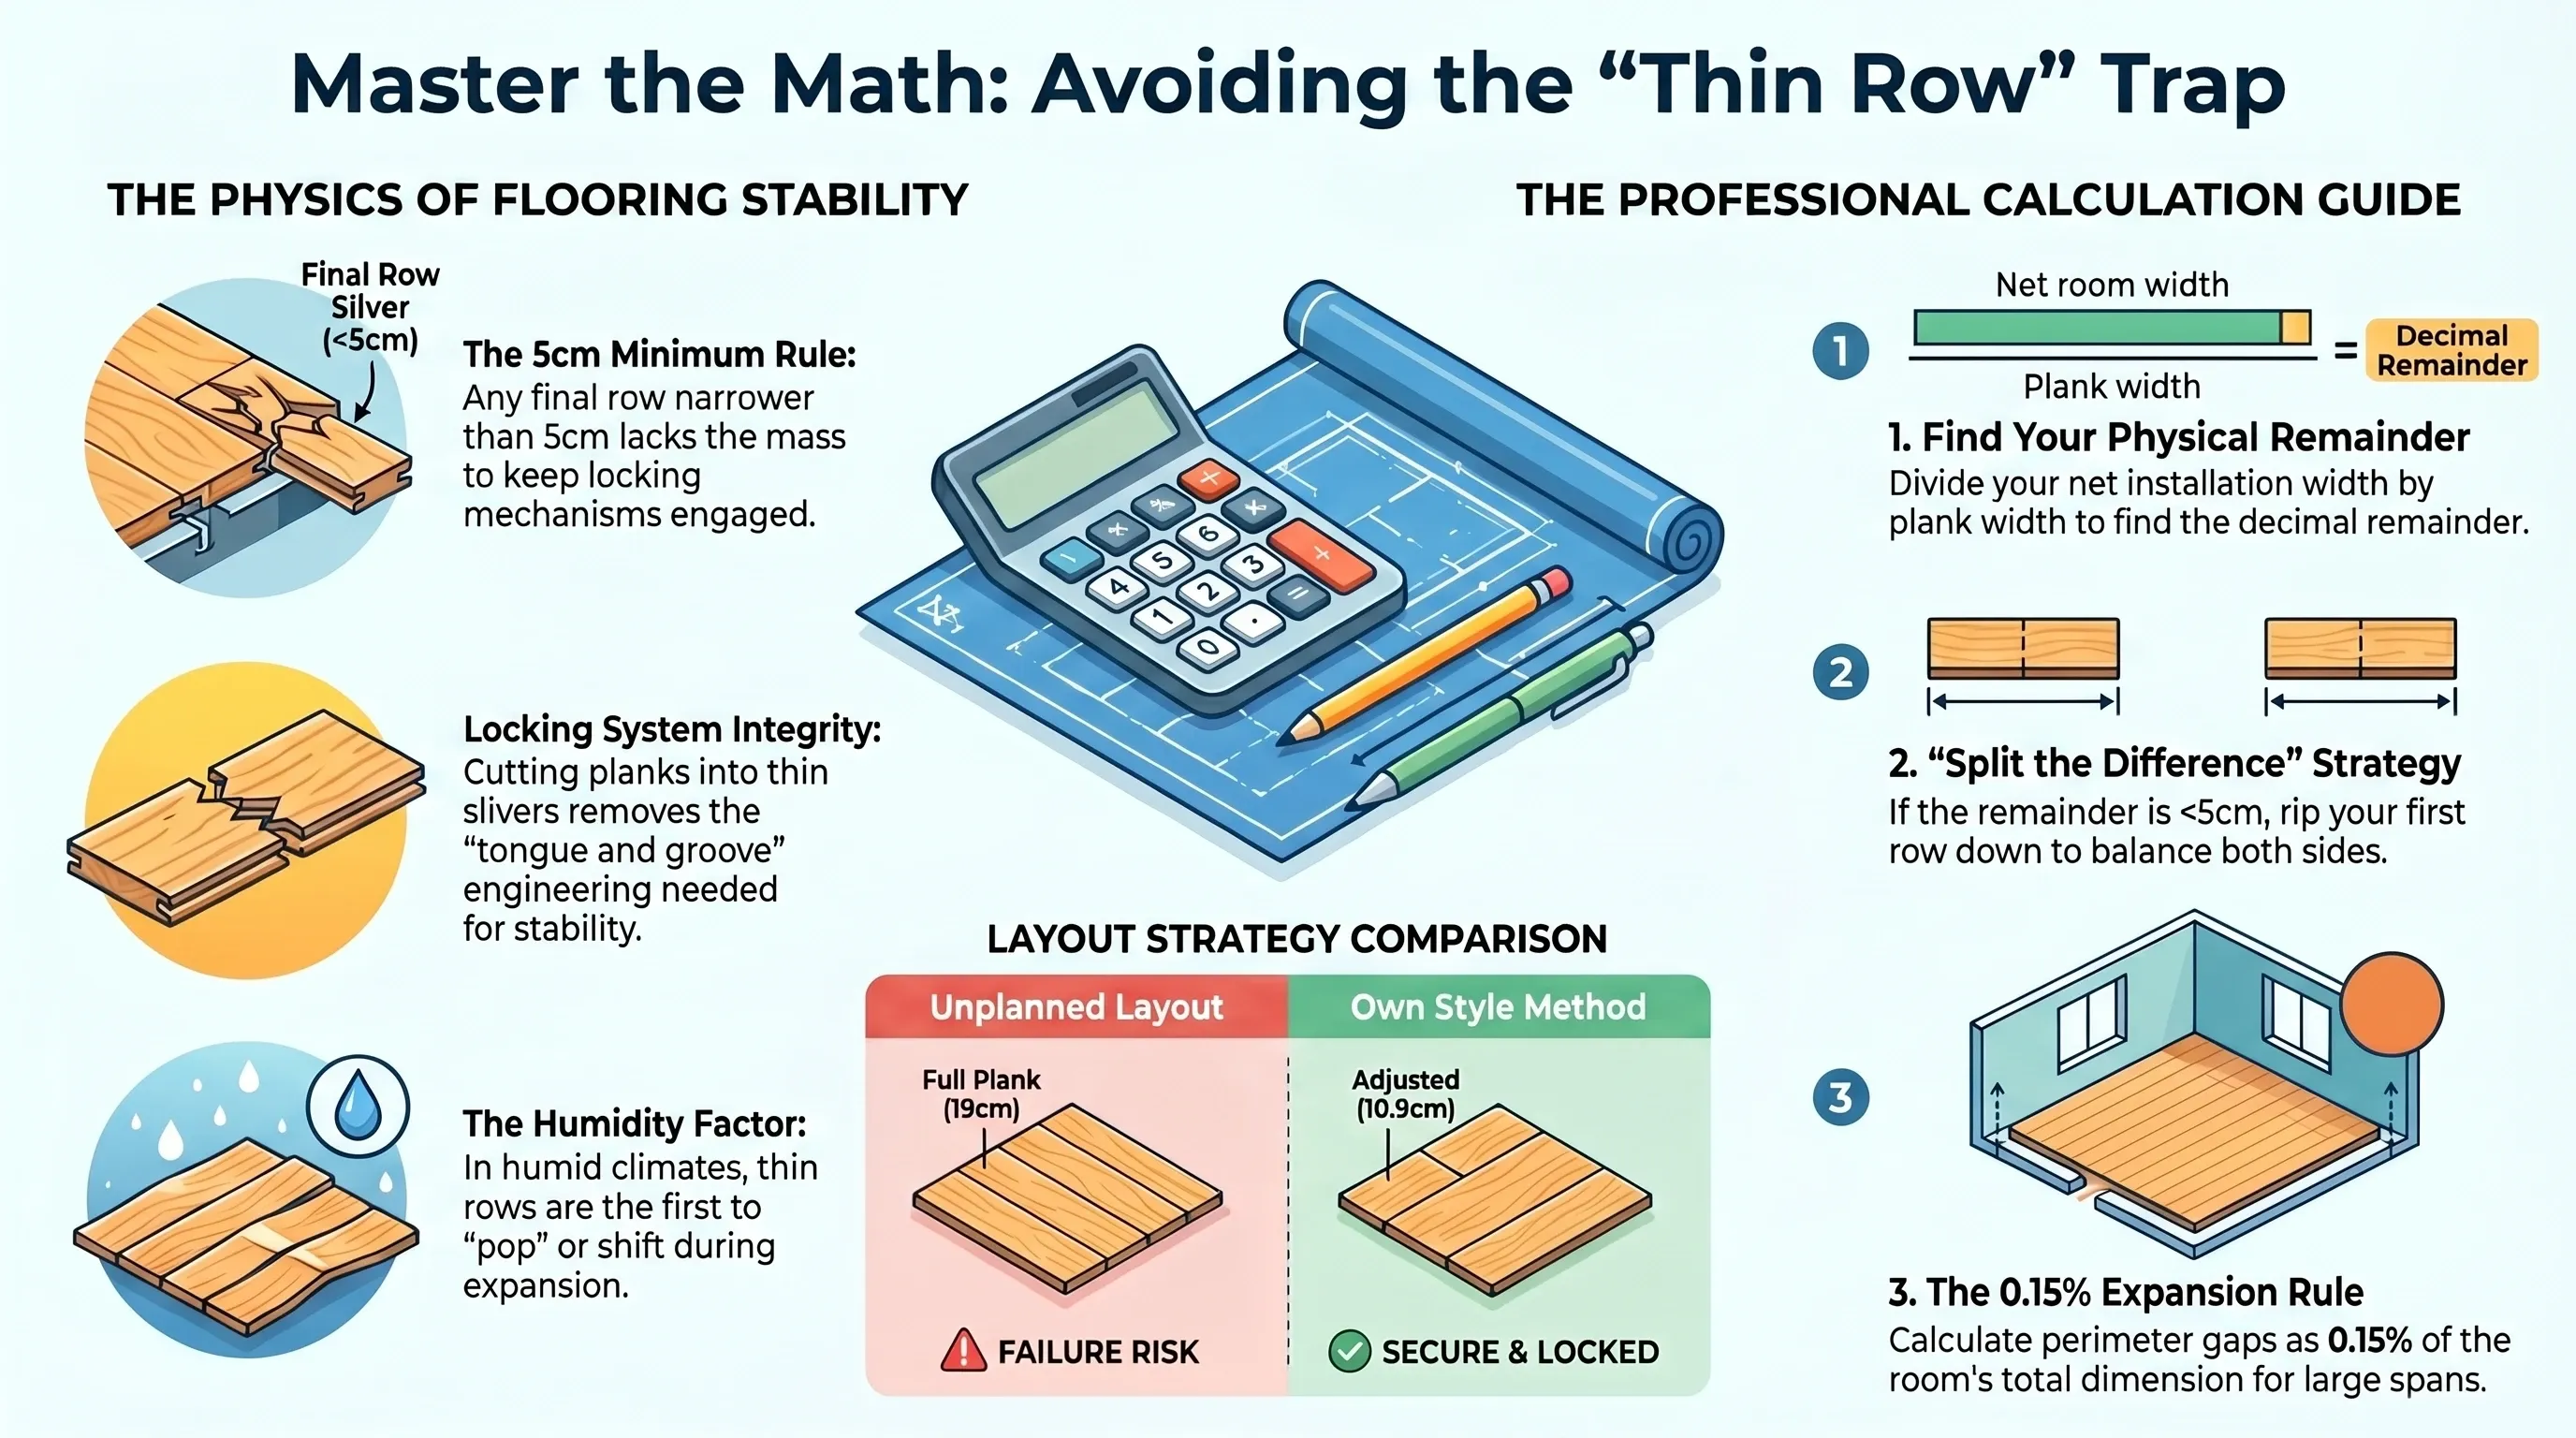
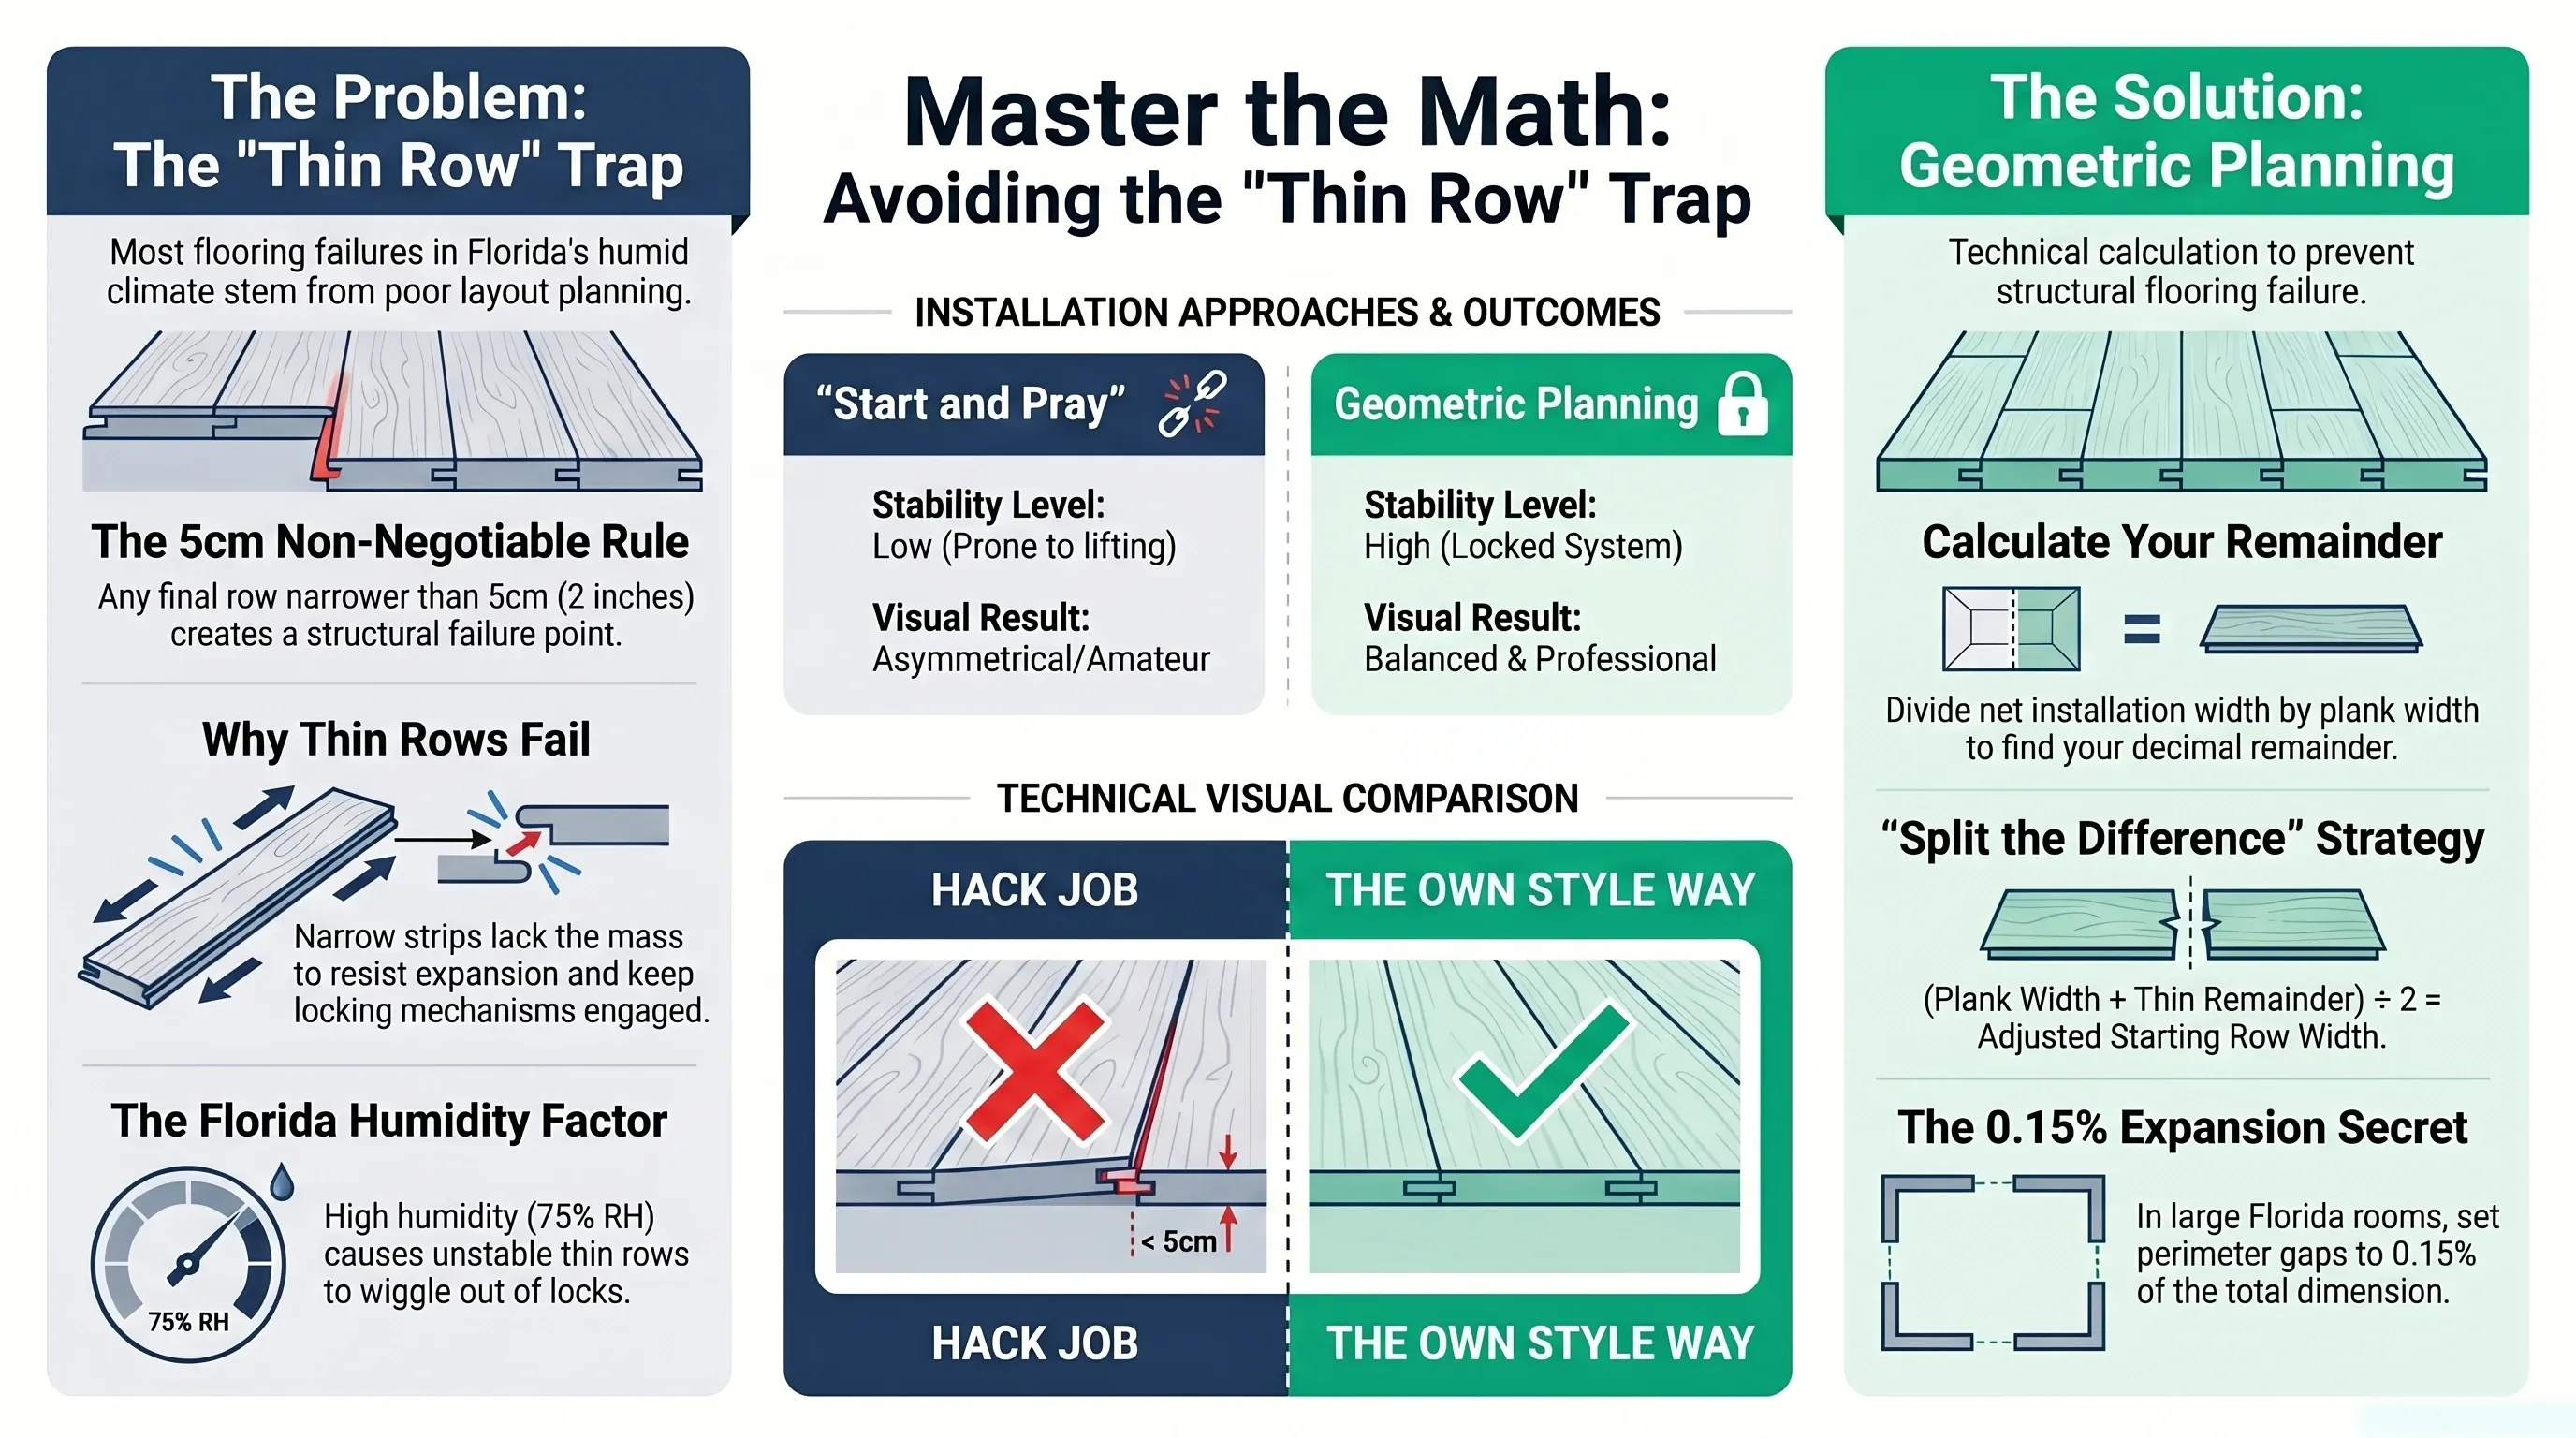
Geometric planning determines whether a laminate floor stays structurally stable for 20 years or fails at the perimeter within the first summer. A final row narrower than 5 cm lacks the surface area to keep the locking mechanism engaged under foot traffic.
A single miscalculation during layout planning produces buckled perimeter rows and disengaged click joints within 6 to 12 months in a Tampa Bay home. The failure point cannot be repaired without removing and recalculating the entire floor.
Why Is a Final Row Narrower Than 5 cm a Structural Problem?
A plank narrower than 5 cm loses the mechanical conditions required for click-lock engagement. The Uniclic profile depends on two forces: the friction of the plank’s mass pressing on the subfloor, and the tensile strength of the locked tongue against the groove.
A 2 cm sliver has less than 11 % of a full plank’s mass and often requires the tongue to be cut away, eliminating the mechanical connection entirely. In high-traffic doorway areas, these unsupported strips lift within weeks, creating tripping hazards and gaps.
The Row Width Calculation Formula
Three inputs are required to calculate row width correctly before a single plank is cut: total room width, total expansion gap allowance, and plank width. Skipping any one of the three produces a final row measurement that cannot be trusted.
The calculation runs in three fixed steps:
- Net installation width — total room width minus both perimeter expansion gaps (minimum 12 mm per side, 24 mm total)
- Row count — net width divided by plank width, giving a whole number plus a decimal remainder
- Final row width — the decimal remainder multiplied by plank width, expressed in centimeters
For example, in a 400 cm room with a 19 cm plank and 2.4 cm total gap allowance, net width comes to 397.6 cm. Dividing by 19 gives 20.93 rows, and 0.93 × 19 equals 17.7 cm for the final row — well above the 5 cm minimum, so the layout proceeds as planned.
A problem case looks different: a net width of 380.6 cm divided by 19 gives 20.03 rows, and 0.03 × 19 equals just 0.57 cm. That final row is a structural failure before the first plank is ever placed.
How to Adjust When the Final Row Is Too Narrow
When the formula produces a final row under 5 cm, the fix is to “split the difference” between the first and last rows rather than accept a thin final strip. The adjustment formula adds the thin remainder to a full plank width and divides by two.
In the 0.57 cm remainder example above, adding a full 19 cm plank and dividing by two gives 9.8 cm. The starting row is ripped to 9.8 cm, and the final row also measures approximately 9.8 cm — structurally locked, visually symmetrical, and mechanically stable on both ends of the room.
Tools Required for Precision Layout
Six tools separate a professionally calculated layout from a guessed one, and skipping any of them introduces error that compounds across every row in the room.
| Tool | Purpose | Why It Matters |
|---|---|---|
| Steel tape measure | Net width and plank measurement | Plastic tapes stretch 0.5–1 mm — error compounds across 20 rows |
| Laser level | Mark adjusted starting row line | Walls deviate up to 5 mm from plumb over 10 meters |
| Sliding T-bevel | Capture non-90° wall angles | Older homes rarely have perfectly square rooms |
| Calculator | Row count and remainder | Mental math errors waste planks and labor on every row |
| Expansion spacers | Maintain perimeter gap | Required at all walls, door frames, and fixed structures |
| Fine-lead pencil | Mark cutting lines | Permanent markers bleed into HDF edges under humidity |
How Expansion Gaps Interact with Row Calculations
The expansion gap must be subtracted from room width before calculating row count, not added afterward. A 12 mm gap at each wall removes 2.4 cm from net installation width, and reversing that order produces a real error in the field.
Calculating rows against raw room width and applying spacers at the end produces a net width error equal to the gap size, shifting every row position and making the final row 2.4 cm narrower than calculated. Default minimum spacing is 12 mm; open-plan rooms exceeding 8 meters need 15–20 mm spacers per the 0.15 % expansion formula.
Doorway Thresholds: Where Thin Rows Concentrate
Doorway thresholds are the highest-traffic zones in a Brandon or Riverview home and where thin-row failures are most visible. A floor planned room by room without calculating how rows align at doorways frequently produces a thin strip at the exact threshold where foot traffic is heaviest.
Correcting this after installation requires removing all planks back to the misaligned row and reinstalling from scratch. For open-plan homes where a single floating floor runs through 3 to 4 connected areas, pre-installation layout calculation for the entire connected space is the only method that prevents threshold failures.
What Happens When Row Width Miscalculation Goes Uncaught?
A thin final row does not fail immediately, which is part of why the mistake makes it past a walk-through inspection on install day. The failure develops over the following months as normal humidity cycling and foot traffic exploit the undersized row.
- Weeks 1–4: the thin strip looks fine visually, and nothing is yet audibly or visibly wrong
- Weeks 4–12: the tongue, if it was cut to fit, begins to separate under foot traffic near doorways and high-use paths
- Months 3–6: visible gaps open at the thin row as humidity cycling pushes the floating floor toward the weakened edge
- Beyond 6 months: the affected row lifts or separates fully, requiring the room to be reworked back to that row
Catching the miscalculation during the dry layout, before any plank is locked in place, costs nothing beyond a few extra minutes with a calculator. Catching it after installation costs a full room of labor to correct.
Does Row Width Calculation Change for LVP Compared to Laminate?
The math is identical, since both are floating floor systems that use the same net-width, row-count, and split-the-difference logic regardless of the plank material on top. What changes slightly is the minimum final row width some LVP manufacturers specify.
Most laminate manufacturers hold to the 5 cm minimum described throughout this guide, tied to the mass needed to keep a Uniclic-style profile engaged. Some SPC-core LVP products with a more rigid core allow a slightly narrower minimum final row, but the calculation process itself — net width, row count, remainder, split-the-difference — does not change between the two materials.
Planning a flooring project in Tampa Bay? Every quote starts with a moisture reading of the slab, at no cost. Get your free photo estimate or call (813) 455-5756.
Frequently asked questions
What is the minimum width for the last row of laminate flooring?
The minimum final row width is 5 cm (≈ 2 inches). A row narrower than 5 cm lacks the mass and surface area to keep the Uniclic locking profile engaged under foot traffic. Rows this narrow also require removing the tongue to fit, eliminating the mechanical connection entirely.
How do I calculate whether my last row will be too narrow before installation?
Subtract the total expansion gap (minimum 24 mm for both walls) from the room width to get net installation width. Divide by plank width — the decimal remainder × plank width gives the final row width. If less than 5 cm, add one full plank width to the remainder and divide by two for the adjusted starting row.
Why do professional installers rip the first row rather than starting with a full plank?
Ripping the first row ensures the last row meets the 5 cm structural minimum. Starting with a full plank and hoping for the best at the far wall produces thin-row failures. A ripped first row creates a symmetrical layout — both perimeter rows equal, mechanically stable.
Can underlayment compensate for a subfloor levelness issue?
A 2–3 mm underlayment absorbs only minor surface texture (PC ≤ 0.5 mm conformability). It does not correct planimetry. Any subfloor deviation exceeding 2 mm over 1 meter requires self-leveling or feather-finish compound before underlayment placement.



US standard for measuring relative humidity inside a concrete slab using in-situ probes drilled to 40% of slab depth, read after 72 hours of equilibration.
US standard for measuring moisture vapor emission from a concrete slab using anhydrous calcium chloride, expressed in pounds per 1,000 sq ft per 24 hours.
US standard practice for preparing concrete floors to receive resilient flooring. Covers flatness, cleanliness, and moisture condition before installation.
The building code in force across Florida, including moisture and structural requirements that apply to slab-on-grade residential construction.
European deep-core moisture test that reacts a slab sample with calcium carbide and reads the resulting gas pressure. Supporting knowledge: the applicable US standards are ASTM F2170 and F1869.
Supporting knowledge — not the standard we work toGerman standard series for floor screeds, source of the widely cited 2.0% CM cement and 0.5% CM anhydrite thresholds. Supporting knowledge, not the applicable US standard.
Supporting knowledge — not the standard we work toHigh-Density Fiberboard: the compressed wood-fiber core of most laminate planks. It absorbs water vapor and swells irreversibly, which is why slab moisture matters.
Stone Plastic Composite: rigid vinyl core made of limestone powder and PVC. Dimensionally stable under humidity swings and unaffected by water.
Wood Plastic Composite: vinyl core with wood flour and foaming agents. Softer and warmer underfoot than SPC, and less dimensionally stable.
Luxury Vinyl Plank: multi-layer vinyl flooring in plank format. Fully waterproof as a material, though the subfloor beneath still governs installation.
Abrasion Class rating for laminate wear resistance, from AC1 to AC6. AC4 suits normal residential use; AC5 handles heavy traffic and light commercial.
A sheet layer placed between slab and flooring to block ground moisture vapor. Required over slab-on-grade construction regardless of surface dryness.
Foundation type where the concrete slab sits directly on the ground, dominant in Florida residential construction. Ground moisture migrates upward continuously.
The permitted deviation of a subfloor across a given span. The common benchmark is 3/16 inch over 10 feet; beyond that, deviation transfers into the locking joints.
A pourable cement-based compound that flows to a level surface, used to correct slab deviation. Needs 24 to 72 hours of cure before flooring goes down.
The 8 to 10 mm clearance left between a floating floor and every fixed vertical surface, absorbing seasonal expansion. Bridging it transfers stress to the joints.
Conditioning flooring material inside the room where it will be installed, 48 to 72 hours before installation, so it reaches interior temperature and humidity.
An angle-in locking profile that joins planks without adhesive. The insertion angle is specified by the manufacturer; forcing it deforms the profile permanently.
The raised ridge that forms along plank edges when a floating floor expands without room to move. In Florida the usual causes are slab moisture or a bridged expansion gap.